线上错误反解
Lynx 线上报错上报到你的监控时,是一段被打包过的堆栈,例如(大字段用 ... 省略):
{
  "error_code": 1101,
  "error": {
    // `error` 字段本身是一个 JSON 字符串,这里展示解析后的样子
    "message": "main-thread.js exception: Error: boom from main thread",
    "stack": "backtrace:\n    at <anonymous> (file:///main-thread.js:23:13)\n    ...",
    "sentry": {
      "exception": {
        "values": [
          {
            "stacktrace": {
              "frames": [
                // 你的代码帧,带着 release;23:13 就是 function_id:pc
                {
                  "filename": "file:///main-thread.js",
                  "lineno": 23,
                  "colno": 13,
                  "release": "debugmetadata:0a62b9f5435af49d34a238d276a986d1bb64b6d1",
                },
                // ... worklet-runtime 的帧
              ],
            },
          },
        ],
      },
    },
  },
}
注意:堆栈里这些行列号对应的是打包产物(background.js、main-thread.js)里的位置,不是你的源码。其中 main-thread.js:23:13 还要当心:它看着像行:列,但主线程跑的是字节码,这两个数其实是 function_id:pc(第 23 号函数、第 13 条指令),跟源码行列没关系;background.js:247:77 才是真的行列号。本文要做的,就是把它们还原回源码位置(文件、行、列)。
反解需要的东西都在每次构建产出的同一个 debug-metadata.json 里:source map、字节码调试信息、UI source map、构建信息。它由 @lynx-js/debug-metadata-rsbuild-plugin 产出,并由 @lynx-js/rspeedy 自动注册(默认启用,无需在配置中声明)。
落盘内容
每个 entry 一个文件,位于该 entry 的中间目录下(默认 .rspeedy/<entry>):
dist/.rspeedy/<entry>/debug-metadata.json
生产构建默认会删除它
生产构建里,这个文件会生成,但随后就从产物里删掉,它不该跟着 app 发出去,只是调试用的辅助信息。只有在 dev、或 DEBUG 里带 rspeedy 时(例如 DEBUG=rspeedy pnpm build,方便本地查看)才会留在磁盘上。要用它做线上反解,需要你自己上传并托管,见 在生产环境中使用。
这个文件对应 @lynx-js/debug-metadata 导出的 DebugMetadataAsset 类型:
interface DebugMetadataAsset {
  artifacts: Artifact[]; // 每个 JS / CSS / 字节码 bundle 一项
  uiSourceMap: UiSourceMapData; // 精简的 UI source-map 负载
  buildInfo: { git?: GitMetadata; rspeedy?: RspeedyMeta };
}
每个 Artifact 里有一个 debugSources[],顺序对应反解的两步:
bytecode-debug-info(若存在)把字节码位置映射回编码后 JS 的 (line, column)。source-map 再把它映射回你编写的源码。
精简后(大字段用 ... 表示)一个真实文件长这样。注意每个 chunk 的 source-map key,它就是运行时上报的 release:
{
  "artifacts": [
    {
      "kind": "main-thread",
      "filename": "main-thread.js",
      "debugSources": [
        // function_id:pc → 编码后 main-thread.js 的 (line, col)
        {
          "kind": "bytecode-debug-info",
          "debugInfo": { "lepusNG_debug_info": { "function_info": ["..."] } },
        },
        // 编码后 (line, col) → 你的源码;`key` 就是这个 chunk 的 release
        {
          "kind": "source-map",
          "filename": "main-thread.js.map",
          "key": "0a62b9f5435af49d34a238d276a986d1bb64b6d1",
          "map": {
            "version": 3,
            "sources": [".../src/App.tsx", "..."],
            "mappings": "...",
          },
        },
      ],
    },
    {
      "kind": "background",
      "filename": "background.js",
      "debugSources": [
        {
          "kind": "source-map",
          "filename": "background.js.map",
          "key": "566b7d2bd791a6d9b5280f368223d729d8f57f9c",
          "map": {
            "version": 3,
            "sources": [".../src/App.tsx", "..."],
            "mappings": "...",
          },
        },
      ],
    },
    // ... css 与 hot-update artifacts
  ],
  "uiSourceMap": {
    "version": 1,
    "sources": ["..."],
    "mappings": ["..."],
    "uiMaps": ["..."],
  },
  "buildInfo": {
    "git": {
      "commit": "62a8e780...",
      "remoteUrl": "https://github.com/lynx-family/lynx-stack",
    },
    "rspeedy": {
      "entryFiles": ["src/index.tsx"],
      "bundlePath": "main/template.js",
    },
  },
}
bytecode-debug-info 是什么
Lynx 的主线程脚本是以 PrimJS 字节码运行的,不是磁盘上的 JS 文本。所以主线程抛错时,引擎只能告诉你它发生在字节码的哪个位置:一个 function_id:pc(函数下标加程序计数器偏移),而不是你能看懂的行列号。
bytecode-debug-info 就是补上这一步的查找表。它把 function_id:pc 映射回编码后 main-thread.js 中的 (line, column)。这个位置仍然是生成代码,所以再由 source-map 走第二步,回到你原始的 .ts / .tsx。这两步(bytecode-debug-info 和 source-map)放在同一个 Artifact 里。
后台线程的 JS 是正常运行的,它的堆栈帧本身就带有真实的 (line, column),只需走 source-map 这一步,不需要字节码这一步。
Dev server 接口
dev 期间,插件会托管该文件,并允许你只查询单个字段而不必解析整个文件:
GET <publicPath>/.rspeedy/<entry>/debug-metadata.json
GET <publicPath>/.rspeedy/<entry>/debug-metadata.json?field=source-map&filename=main-thread.js.map
GET <publicPath>/.rspeedy/<entry>/debug-metadata.json?field=bytecode-debug-info&filename=main-thread.js
在 dev 下,插件还会把 bundle 内的 sourceMappingURL 注释,以及 tasm 的 templateDebugUrl / debugMetadataUrl 改写为指向这些 dev server 接口,从而让 devtools 自动解析源码。
可查询字段
命中时直接返回该字段对应的内容(例如 ?field=source-map 返回原始 v3 map,而不是包装对象)。未知字段返回 400;字段合法但无匹配值返回 404。
在生产环境中使用
Lynx 只定义格式、产出文件,不负责托管,也没有内置上传,上面那些 URL 改写也只发生在 dev server。线上的反解需要你自己接入,具体怎么接取决于你的堆栈如何找到对应的元数据,有两种做法:
- 方案 1,后端按 release 索引:构建时把文件传到你自己的服务。
release 是构建自动注入产物的(出错时运行时会带上它),同一个值也存在文件里,所以后端读出它来建索引,出错时按 release 找回文件。产物里不用再加别的东西。
- 方案 2,让产物指向你的托管地址:再把
debugMetadataUrl / templateDebugUrl 写进随包发布的模板(并改写 JS 的 sourceMappingURL 注释),这样 devtools 或反解服务能直接 fetch 到文件。
方案 1:上传并托管
默认插件会在构建的最末尾(PROCESS_ASSETS_STAGE_REPORT + 1)删除 debug-metadata.json。在前一个 stage tap 即可读到它并交给你的上传逻辑:
plugins/upload-debug-metadata.ts
import type { RsbuildPlugin, Rspack } from '@rsbuild/core';

const ASSET = 'debug-metadata.json';

export function pluginUploadDebugMetadata(
  upload: (json: string, assetName: string) => Promise<void>,
): RsbuildPlugin {
  return {
    name: 'upload-debug-metadata',
    setup(api) {
      api.modifyBundlerChain((chain, { environment, isProd }) => {
        const isLynx =
          environment.name === 'lynx' || environment.name.startsWith('lynx-');
        if (!isProd || !isLynx) return;

        chain.plugin('upload-debug-metadata').use(
          class {
            apply(compiler: Rspack.Compiler) {
              const { Compilation } = compiler.webpack;
              compiler.hooks.thisCompilation.tap('upload', (compilation) => {
                compilation.hooks.processAssets.tapPromise(
                  // 比默认插件的清理早一个 stage
                  {
                    name: 'upload',
                    stage: Compilation.PROCESS_ASSETS_STAGE_REPORT,
                  },
                  async (assets) => {
                    for (const name of Object.keys(assets)) {
                      if (name !== ASSET && !name.endsWith(`/${ASSET}`))
                        continue;
                      const json = compilation
                        .getAsset(name)
                        ?.source.source()
                        .toString();
                      if (json) await upload(json, name);
                    }
                  },
                );
              });
            }
          },
        );
      });
    },
  };
}
把它接进 lynx.config.ts。你只需原样上传文件,后端用来索引的 release 是构建注入、并嵌在文件里的,不用你在这里指定:
lynx.config.ts
import { defineConfig } from '@lynx-js/rspeedy';
import { pluginReactLynx } from '@lynx-js/react-rsbuild-plugin';
import { pluginUploadDebugMetadata } from './plugins/upload-debug-metadata.js';

export default defineConfig({
  plugins: [
    pluginReactLynx(),
    pluginUploadDebugMetadata(async (json) => {
      await fetch('https://your-monitoring.example.com/debug-metadata', {
        method: 'POST',
        headers: { 'content-type': 'application/json' },
        body: json,
      });
    }),
  ],
});
如果只是临时想拿到磁盘上的文件,改用 DEBUG=rspeedy 构建即可,它会把文件留在 dist/.rspeedy/<entry>/ 下,不需要任何插件。
运行时 release 如何对应到文件
运行时上报的每个 chunk 的 release 形如 debugmetadata:<key>,例如 debugmetadata:0a62b9f5435af49d34a238d276a986d1bb64b6d1。去掉 debugmetadata: 前缀,<key> 恰好就是 debug-metadata.json 里某个 artifact 的 source-map 的 key(每个 chunk 一个:main-thread.js、background.js ......)。所以你的后端从上传的文件里读出这些 key 建索引;出错时去掉前缀按 key 查回文件。你自始至终不需要自己指定 release。
方案 2:让产物指向你的托管地址
要让 devtools 或反解服务自动 fetch 到文件,你得在模板被编码之前把 URL 写进去。这意味着要 tap LynxTemplatePlugin.beforeEncode,而它通过 DSL 插件发布的 exposure 拿到:
- 用
api.useExposed(Symbol.for('LynxTemplatePlugin')) 读到这个类。
- 把你的插件排到
.after('lynx:debug-metadata'),否则你的 beforeEncode 会跑在默认插件产出文件之前,读到空内容。
plugins/host-debug-metadata.ts
import crypto from 'node:crypto';
import path from 'node:path';
import type { RsbuildPlugin, Rspack } from '@rsbuild/core';

const ASSET = 'debug-metadata.json';

export function pluginHostDebugMetadata(opts: {
  baseUrl: string;
  upload: (json: string, key: string) => Promise<void>;
}): RsbuildPlugin {
  const { baseUrl, upload } = opts;
  return {
    name: 'host-debug-metadata',
    setup(api) {
      api.modifyBundlerChain((chain, { environment, isProd }) => {
        const isLynx =
          environment.name === 'lynx' || environment.name.startsWith('lynx-');
        if (!isProd || !isLynx) return;

        const exposed = api.useExposed<{
          LynxTemplatePlugin: {
            getLynxTemplatePluginHooks: (c: Rspack.Compilation) => {
              beforeEncode: { tap: (n: string, fn: (a: any) => any) => void };
            };
          };
        }>(Symbol.for('LynxTemplatePlugin'));
        if (!exposed) return;
        const { LynxTemplatePlugin } = exposed;

        chain
          .plugin('host-debug-metadata')
          .after('lynx:debug-metadata')
          .use(
            class {
              apply(compiler: Rspack.Compiler) {
                const { Compilation, sources } = compiler.webpack;
                const keyByAsset = new Map<string, string>();

                compiler.hooks.thisCompilation.tap('host-dm', (compilation) => {
                  const hooks =
                    LynxTemplatePlugin.getLynxTemplatePluginHooks(compilation);

                  hooks.beforeEncode.tap('host-dm', (args) => {
                    const assetName = path.posix.format({
                      dir: args.intermediate,
                      base: ASSET,
                    });
                    const content = compilation
                      .getAsset(assetName)
                      ?.source.source()
                      .toString();
                    if (!content) return args; // 不是 lynx 模板

                    const key = crypto
                      .createHash('sha1')
                      .update(content)
                      .digest('hex');
                    keyByAsset.set(assetName, key);
                    const fileUrl = `${baseUrl}/${key}/${ASSET}`;

                    const root = args.encodeData.lepusCode.root?.name;
                    const mainThread = root
                      ? path.posix.basename(root.replace(/\\/g, '/'))
                      : 'main-thread.js';

                    // 写进编码后的模板
                    args.encodeData.sourceContent.config.debugMetadataUrl =
                      fileUrl;
                    args.encodeData.compilerOptions.templateDebugUrl =
                      `${fileUrl}?field=bytecode-debug-info` +
                      `&filename=${encodeURIComponent(mainThread)}`;

                    // 把每个 JS 的 sourceMappingURL 注释重新指向托管地址
                    for (const a of JSON.parse(content).artifacts ?? []) {
                      if (!a.path?.endsWith('.js')) continue;
                      const name = a.path.replaceAll('/./', '/');
                      const asset = compilation.getAsset(name);
                      if (!asset) continue;
                      const before = asset.source.source().toString();
                      if (!before.includes('//# sourceMappingURL=')) continue;
                      const after = before.replace(
                        /\/\/# sourceMappingURL=\S*/g,
                        `//# sourceMappingURL=${fileUrl}?field=source-map` +
                          `&path=${encodeURIComponent(`${name}.map`)}`,
                      );
                      compilation.updateAsset(
                        name,
                        new sources.RawSource(after),
                        asset.info,
                      );
                    }
                    return args;
                  });

                  compilation.hooks.processAssets.tapPromise(
                    {
                      name: 'host-dm',
                      stage: Compilation.PROCESS_ASSETS_STAGE_REPORT,
                    },
                    async (assets) => {
                      for (const name of Object.keys(assets)) {
                        if (name !== ASSET && !name.endsWith(`/${ASSET}`))
                          continue;
                        const json = compilation
                          .getAsset(name)
                          ?.source.source()
                          .toString();
                        const key = keyByAsset.get(name);
                        if (json && key) await upload(json, key);
                      }
                    },
                  );
                });
              }
            },
          );
      });
    },
  };
}
用你实际托管文件的 base URL 接入:
lynx.config.ts
pluginHostDebugMetadata({
  baseUrl: 'https://your-cdn.example.com/dm',
  upload: async (json, key) => {
    await fetch(`https://your-cdn.example.com/dm/${key}/debug-metadata.json`, {
      method: 'PUT',
      headers: { 'content-type': 'application/json' },
      body: json,
    });
  },
});
产出的 Lynx Bundle 现在带两个指向托管地址的字段,注意它们形态不一样:sourceContent.config.debugMetadataUrl 是裸链接 <baseUrl>/<key>/debug-metadata.json,给 devtools 或你自己的反解服务整份拉取;compilerOptions.templateDebugUrl 指向同一个文件,但带上了取数 query(?field=bytecode-debug-info&filename=<main-thread.js>)。
templateDebugUrl 带 query 是有意的:Lynx 自带的红屏反解会读这个字段,主线程抛错时直接按链接拉到 bytecode-debug-info 做反解。所以只要把它写进模板,就能复用 Lynx 内置的调试能力,红屏里直接显示源码位置,不用你再接一套。
每个 JS 的 sourceMappingURL 注释也改写到了同一托管地址。URL 里的 key 与你上传所用的 key 一致,所以链接始终能解析。
在出错时反解
线上堆栈到来时,对存好的文件做反解:用 resolveField 取出对应的 source-map / bytecode-debug-info(方案 1 按 release 定位文件,方案 2 跟随产物里的 debugMetadataUrl),或者用 lynx-debug-info-remapping skill 处理主线程的 function_id:pc backtrace。
可以直接 JSON.parse 后使用:
import type { DebugMetadataAsset } from '@lynx-js/debug-metadata';

const metadata = JSON.parse(
  await readFile('debug-metadata.json', 'utf8'),
) as DebugMetadataAsset;
在代码中解析单个字段(与 dev server 使用的是同一套分发逻辑):
import { resolveField } from '@lynx-js/debug-metadata';

const res = resolveField(metadata, 'source-map', {
  filename: 'main-thread.js.map',
});
// res === undefined  → 未知字段
// res.found === false → 无匹配
// res.payload        → 该字段对应的 SourceMap(即 SourceMap 本身)
对未知字段保持开放
schema 会随产出端演进,所以遇到不认识的字段,忽略就好,别因此把整份数据判为无效。
实战:把一个真实错误映射回源码
为了把两条路径都走通,examples/react 的 App.tsx 在两处抛错:一处在 render(后台线程),一处在主线程 tap 处理器里:
src/App.tsx
function App() {
  const [crashRender, setCrashRender] = useState(false);

  if (crashRender) {
    throw new Error('boom from render (background thread)'); // line 15
  }
  // ...
  return (
    <text
      main-thread:bindtap={() => {
        'main thread';
        throw new Error('boom from main thread'); // line 65
      }}
    >
      Throw on main thread
    </text>
  );
}
构建并运行,分别触发两个错误。下文里的 metadata 就是这次构建的 debug-metadata.json(用 JSON.parse 解析,按 release 从你的存储取回,方案 1)。
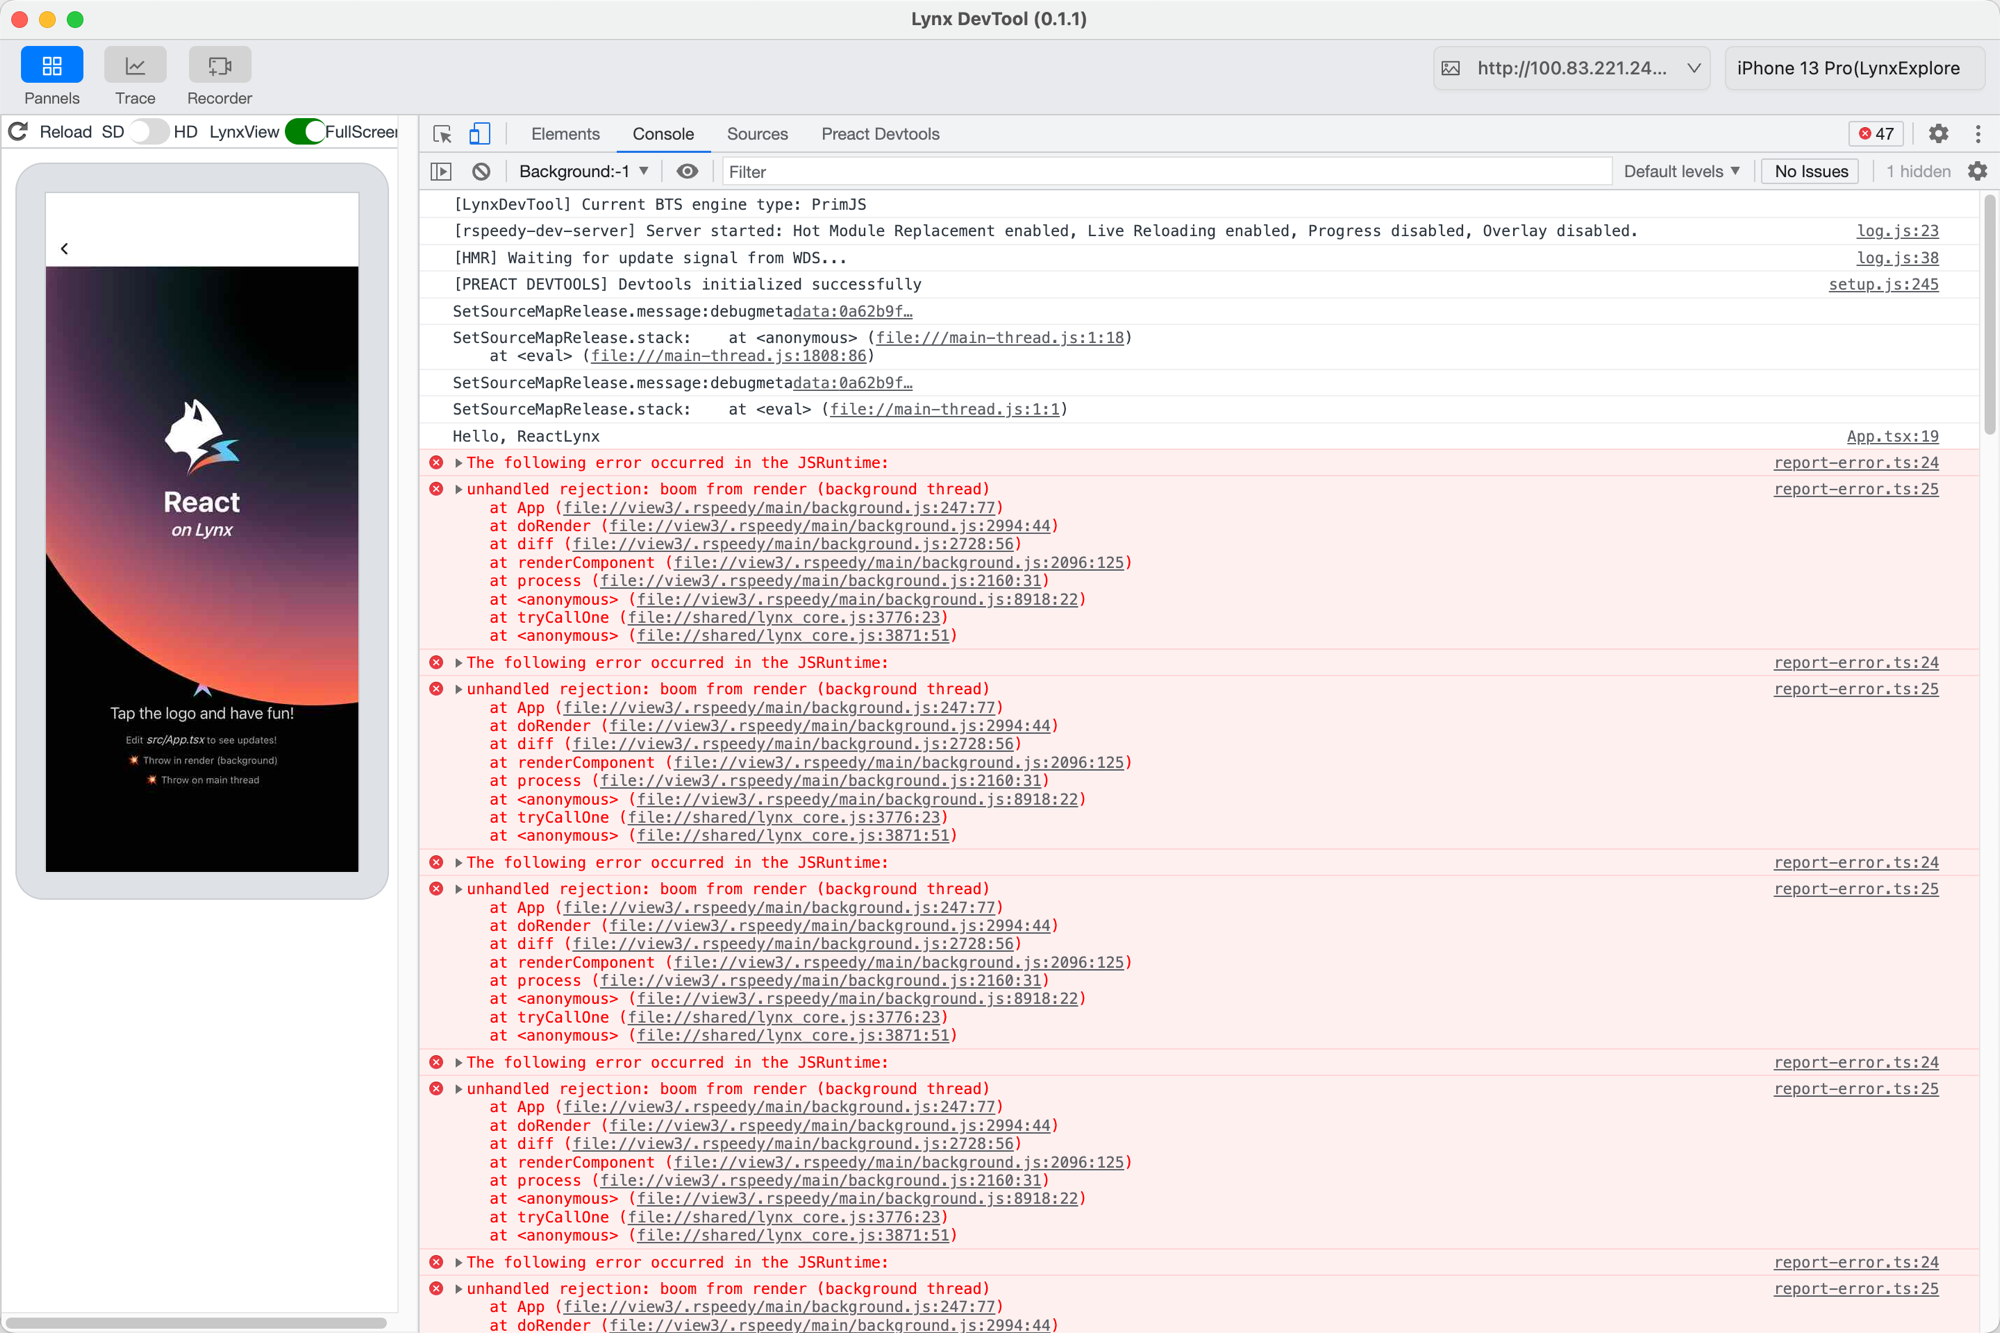
后台错误(一步)
点击 Throw in render,在后台线程抛错。控制台里的帧指向 background.js:
unhandled rejection: boom from render (background thread)
    at App (background.js:247:77)
    at doRender (background.js:2994:44)
    ...
background.js:247:77 是真实的 (line, column),所以一步 source-map 就能映射回去:
import { resolveField } from '@lynx-js/debug-metadata';
// 任何 v3 source-map 库都行,这里用 @jridgewell/trace-mapping
import { TraceMap, originalPositionFor } from '@jridgewell/trace-mapping';

const map = resolveField(metadata, 'source-map', {
  filename: 'background.js.map',
}).payload;

originalPositionFor(new TraceMap(map), { line: 247, column: 77 });
// → { source: 'src/App.tsx', line: 14, column: 2 }
background.js:247:77 映射回 src/App.tsx:14,也就是 if (crashRender) 那行;真正的 throw 在第 15 行。差这一行是 source map 的精度问题:产物把 if (crashRender) { throw ... } 压成了一行,map 只对这条语句的开头记了映射,反解就落在外层的 if 上。线上红屏的反解也是停在上一行,定位问题已经够用了。
主线程错误(两步)
点击 Throw on main thread,主线程抛错,控制台里是这样:
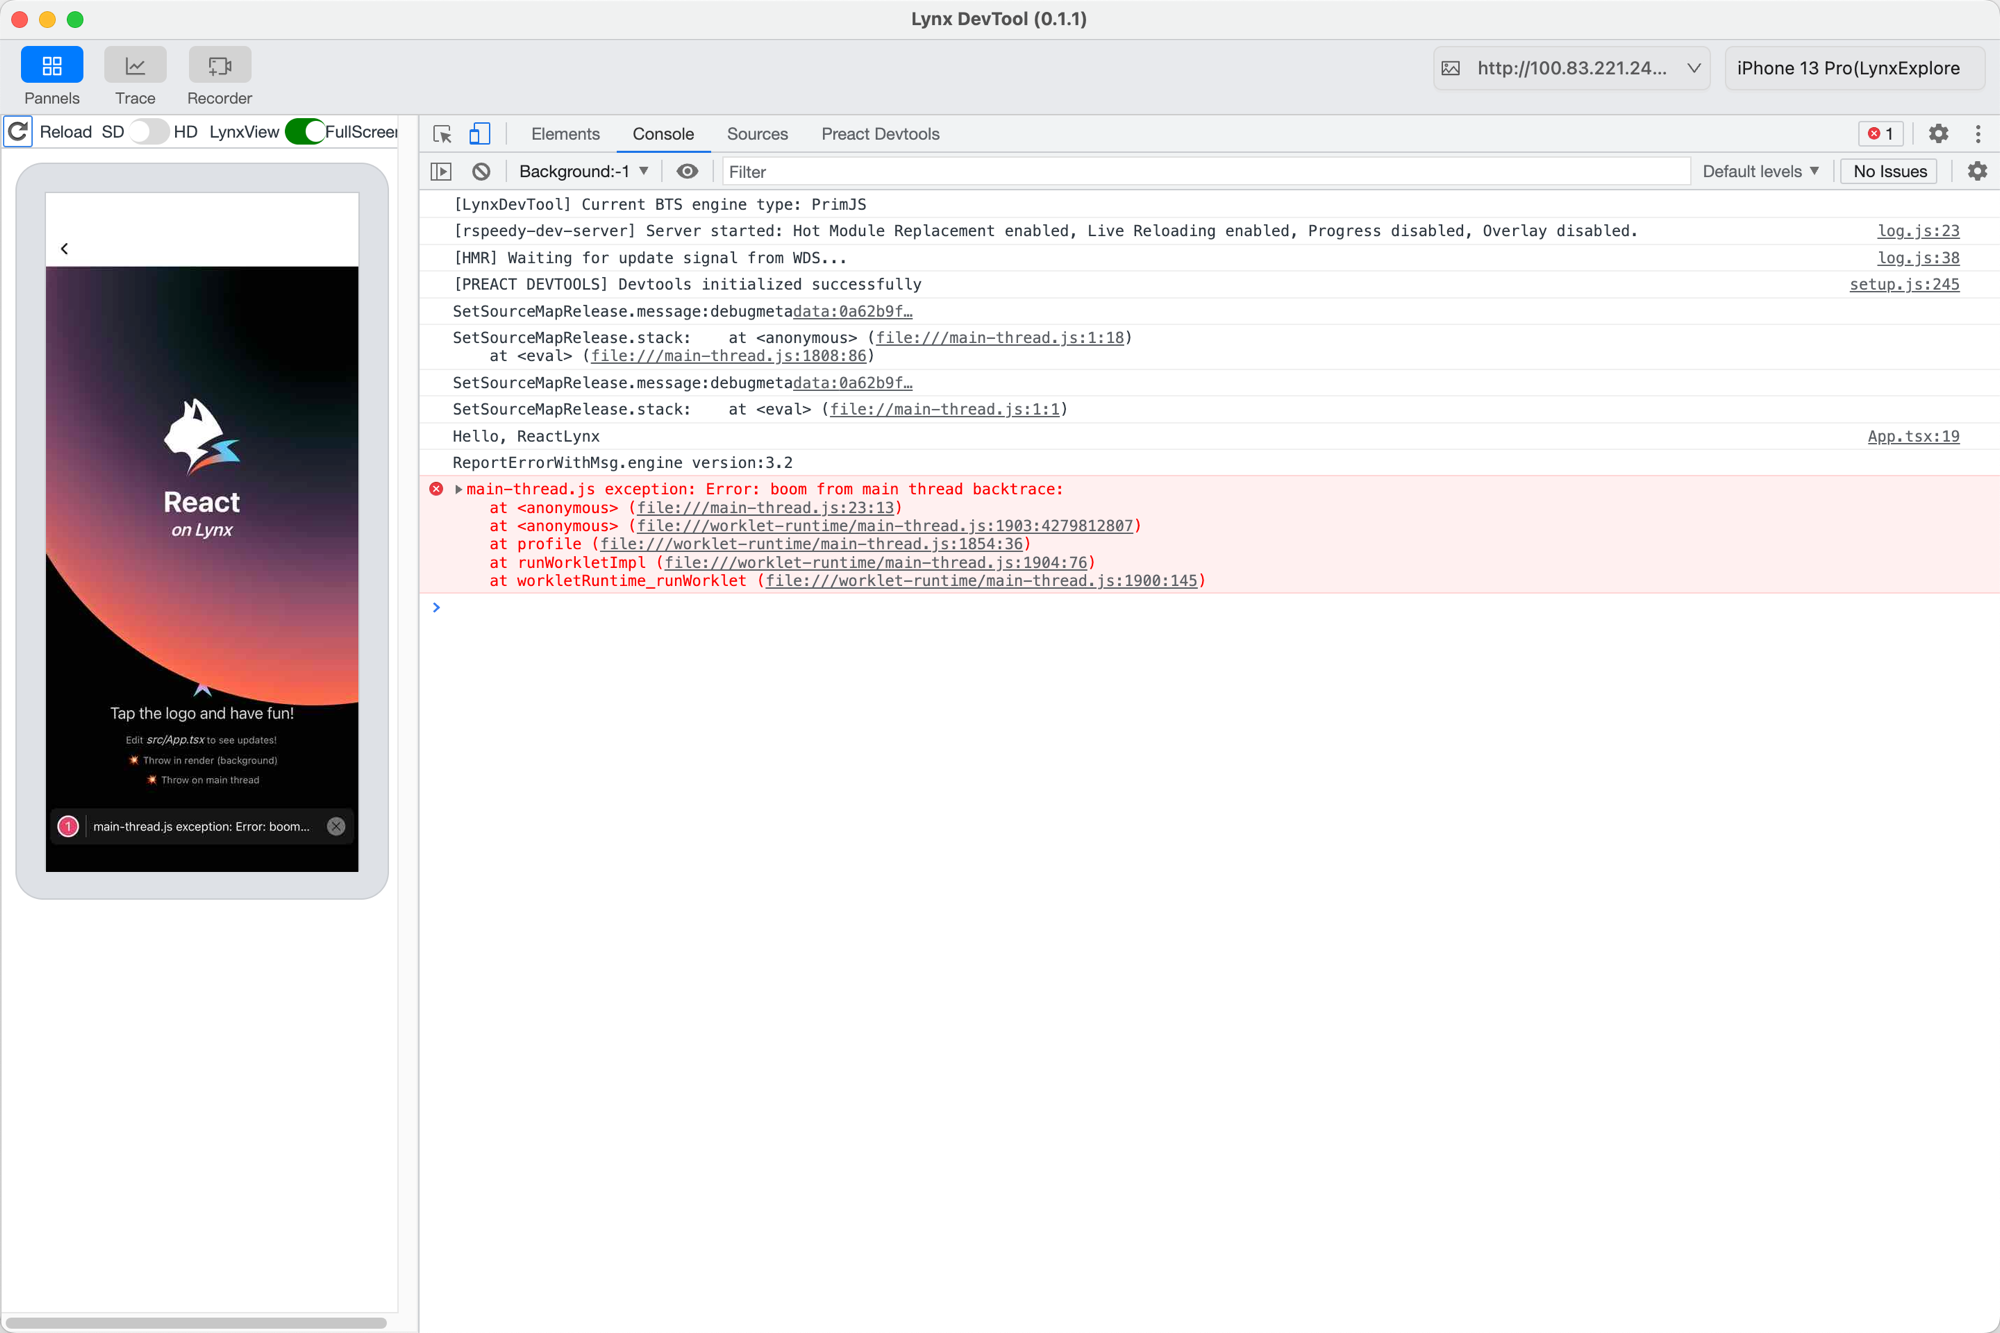
上报到监控的就是开头那段 JSON,关键是带 release 的那一帧:
{
  "function": "<anonymous>",
  "filename": "file:///main-thread.js",
  "lineno": 23,
  "colno": 13,
  "release": "debugmetadata:0a62b9f5435af49d34a238d276a986d1bb64b6d1",
}
先按 release 找到对应的 DebugMetadata。去掉 debugmetadata: 前缀,剩下的 0a62b9f... 就是某个 chunk 的 source-map key,据此从你的存储取回这次构建的文件:
const release = frame.release.replace('debugmetadata:', '');
// '0a62b9f5435af49d34a238d276a986d1bb64b6d1'
const metadata = await fetchByKey(release); // 你的后端:按 source-map key 索引
再反解这一帧。23:13 是 function_id 23、pc 13(不是行列号),分两步:
main-thread.js:23:13 (function_id:pc)
  bytecode-debug-info → main-thread.js:238:45 (编码后 JS line:col)
  source-map          → src/App.tsx:65:14
main-thread.js:23:13 最终映射回 src/App.tsx:65,也就是主线程那个 throw。这条链可以用 lynx-debug-info-remapping skill 一把跑完。