


Tutorial: Build Your Own Browser
This tutorial walks you through building a simple multi-tab browser step by step. It does not assume any prior knowledge of Lynxtron. The techniques you learn here form the foundation for building any Lynxtron desktop application.
You will learn:
- Build a custom title bar with Lynxtron
- Implement window controls through communication between Node.js and LynxView
- How to use
<webview>from Lynx Native Libraries
What Are We Building?
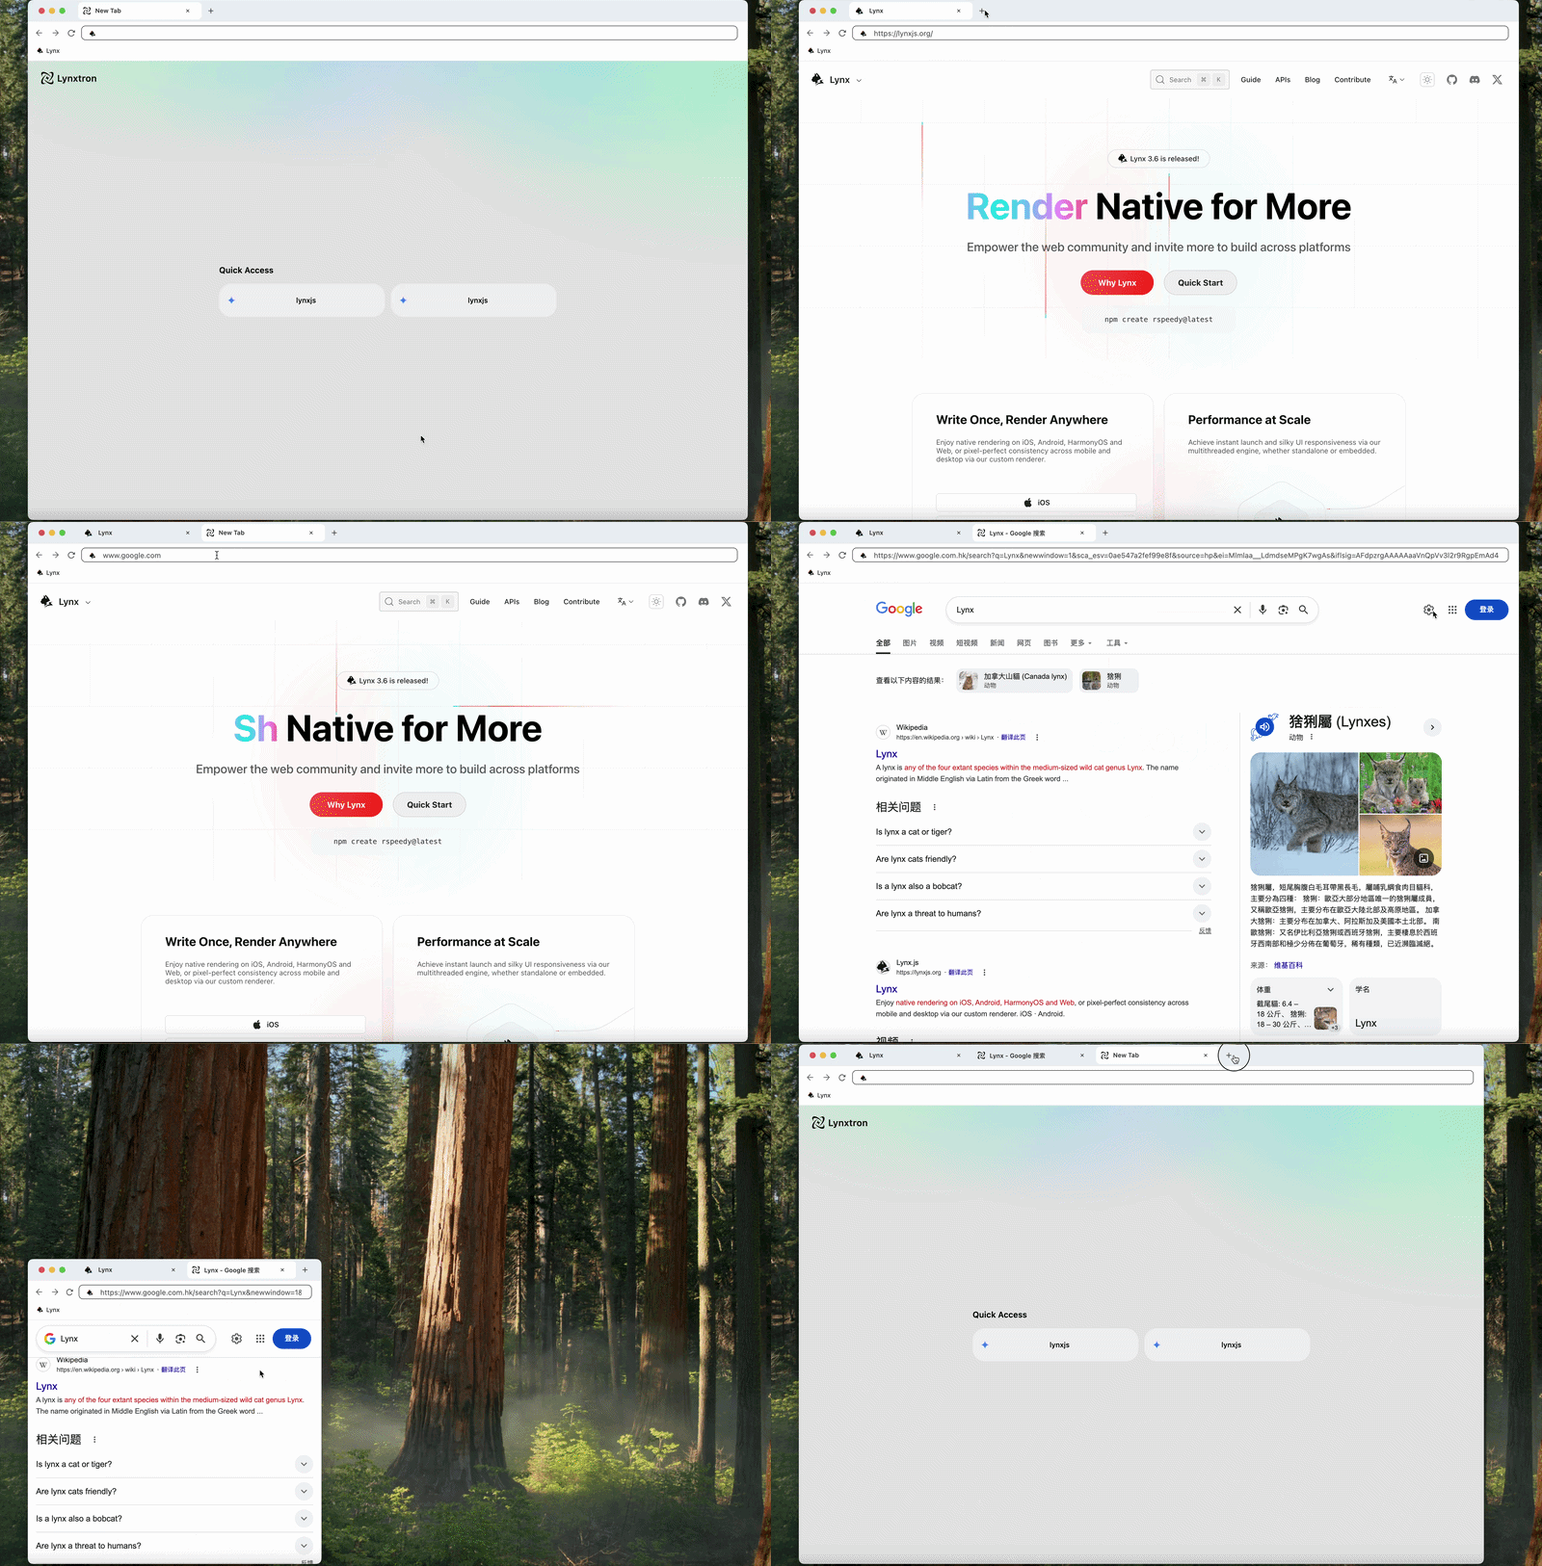
First, let us look at the final result. We will build a fully functional multi-tab browser that includes:
- Custom title bar: with traffic-light window control buttons for close, minimize, and maximize
- Tab management: add, switch, and close multiple tabs
- Navigation bar: includes forward, back, refresh buttons, and an address bar
- Web content area: uses
<webview>to load and display web pages
Try the Finished Browser
The complete Browser demo includes the Lynx UI, Node.js main process, and preload bridge; you can inspect all of them in the source panel below.
Tutorial Setup
Please refer to our detailed installation guide, which walks you through creating a new Lynxtron project.
You may notice that the project uses TypeScript. Although Lynxtron supports both TypeScript and plain JavaScript, we recommend TypeScript for a better development experience, including static type checking and improved editor IntelliSense.
Install the webview Native Library
The optional @lynx-js/cef-webview package provides <webview>. Install it from the project root:
create-lynxtron already configures pluginLynxtron() for the desktop build. Check the webview tooling requirements before continuing. The matching tooling loads and packages the native library; the app still initializes CEF before creating a window, as shown below.
If you use pnpm 11 and installation reports blocked build scripts for these packages, merge the following into the project's pnpm-workspace.yaml and run installation again:
Build a Custom Title Bar with Lynxtron
Because the browser title bar contains tabs, the default Lynxtron window title bar does not meet our needs, so we need to create a custom one. The first step is to create a frameless window so we can fully customize the browser's appearance, including the title bar and the traffic-light control buttons.
Step 1: Create a Frameless Window
When creating LynxWindow, set frame: false to remove the system title bar:
Merge this initialization into the project's existing startup flow and keep its bundle loading code. Initialize CEF before creating any LynxWindow.
CEF selects its storage directory based on the host application's identity. Multiple instances sharing the same identity may encounter storage conflicts. Multiple tabs in this browser are supported. If initialize() throws, stop startup and inspect the error instead of continuing to create WebViews.
Step 2: Build the Custom Title Bar
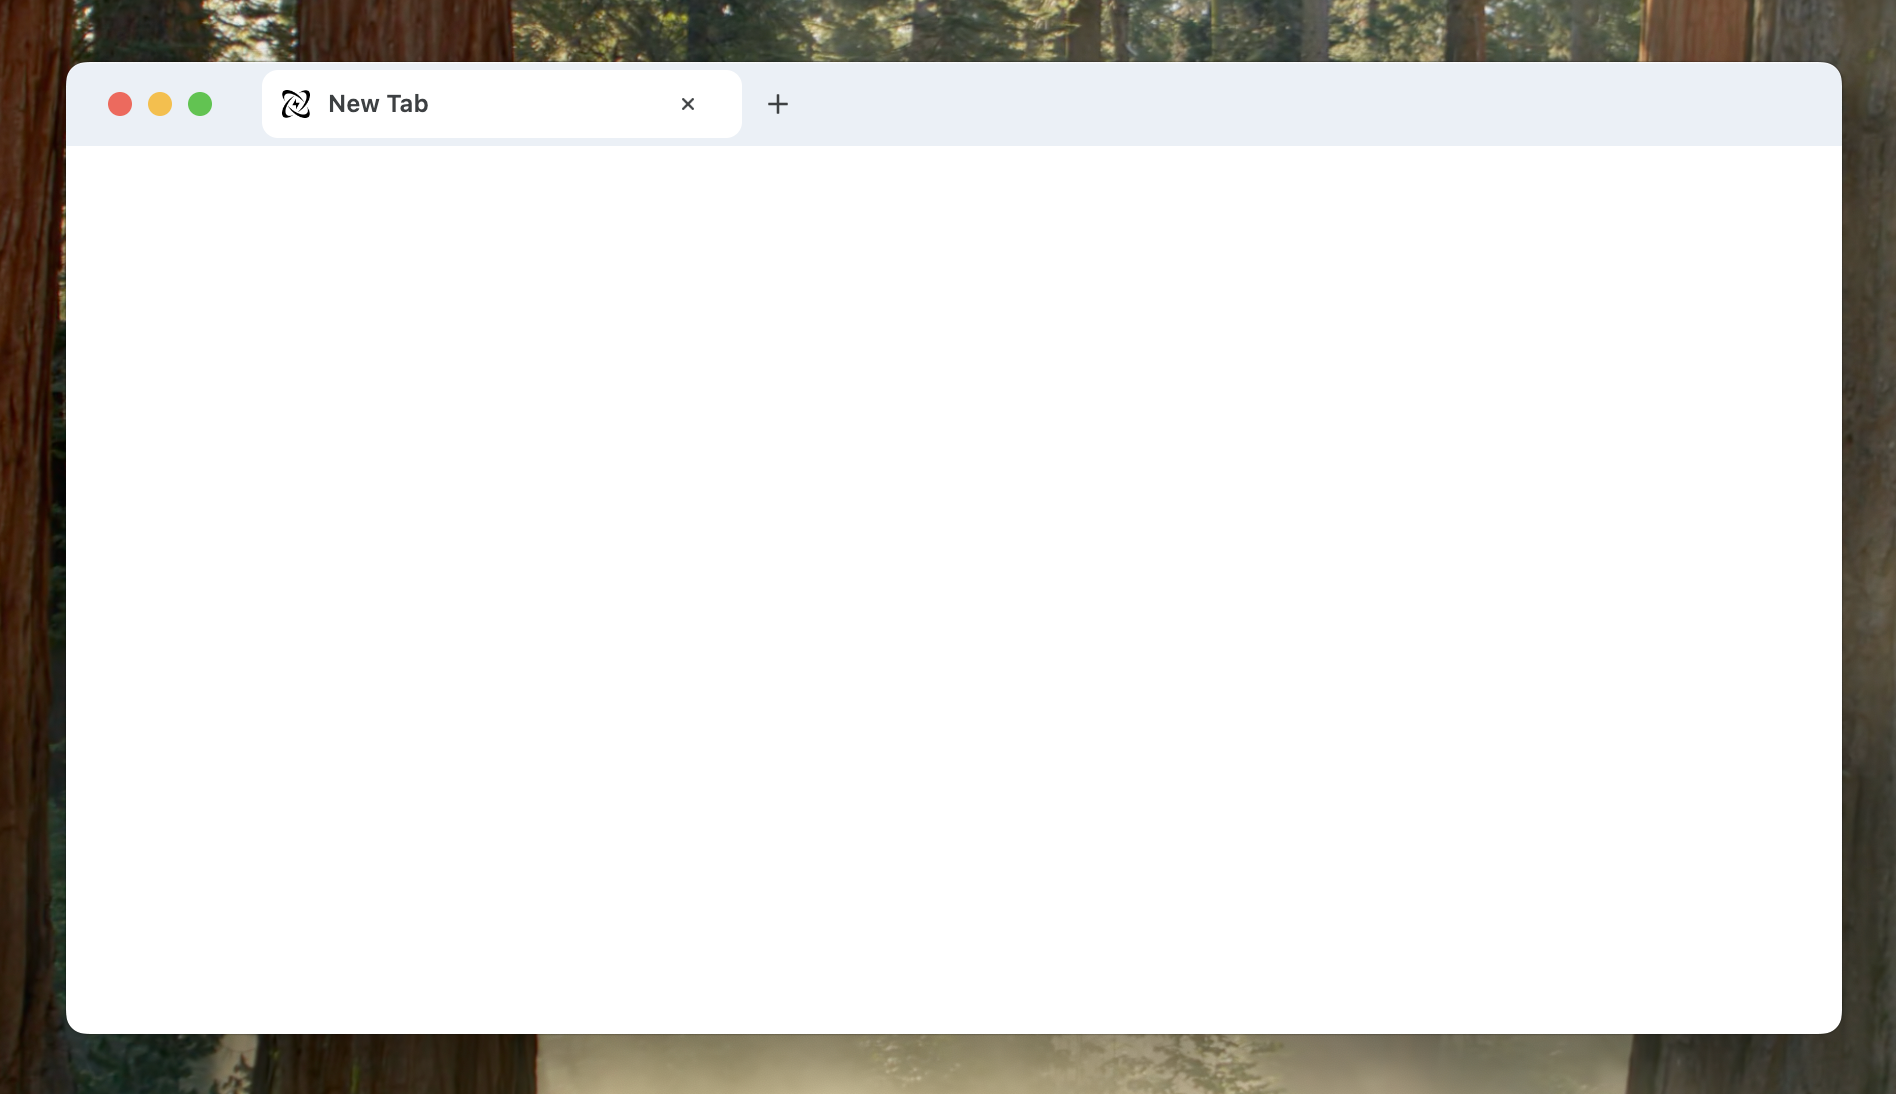
After removing the system title bar, we need to build the browser title bar ourselves. It mainly consists of three parts:
- Window control buttons: used to maximize, minimize, and close the browser
- Tabs: used to display the title information of each web page
- Add button: used to create a new tab
We place these components inside a top bar and use Flexbox for layout:
Step 3: Enable Window Dragging
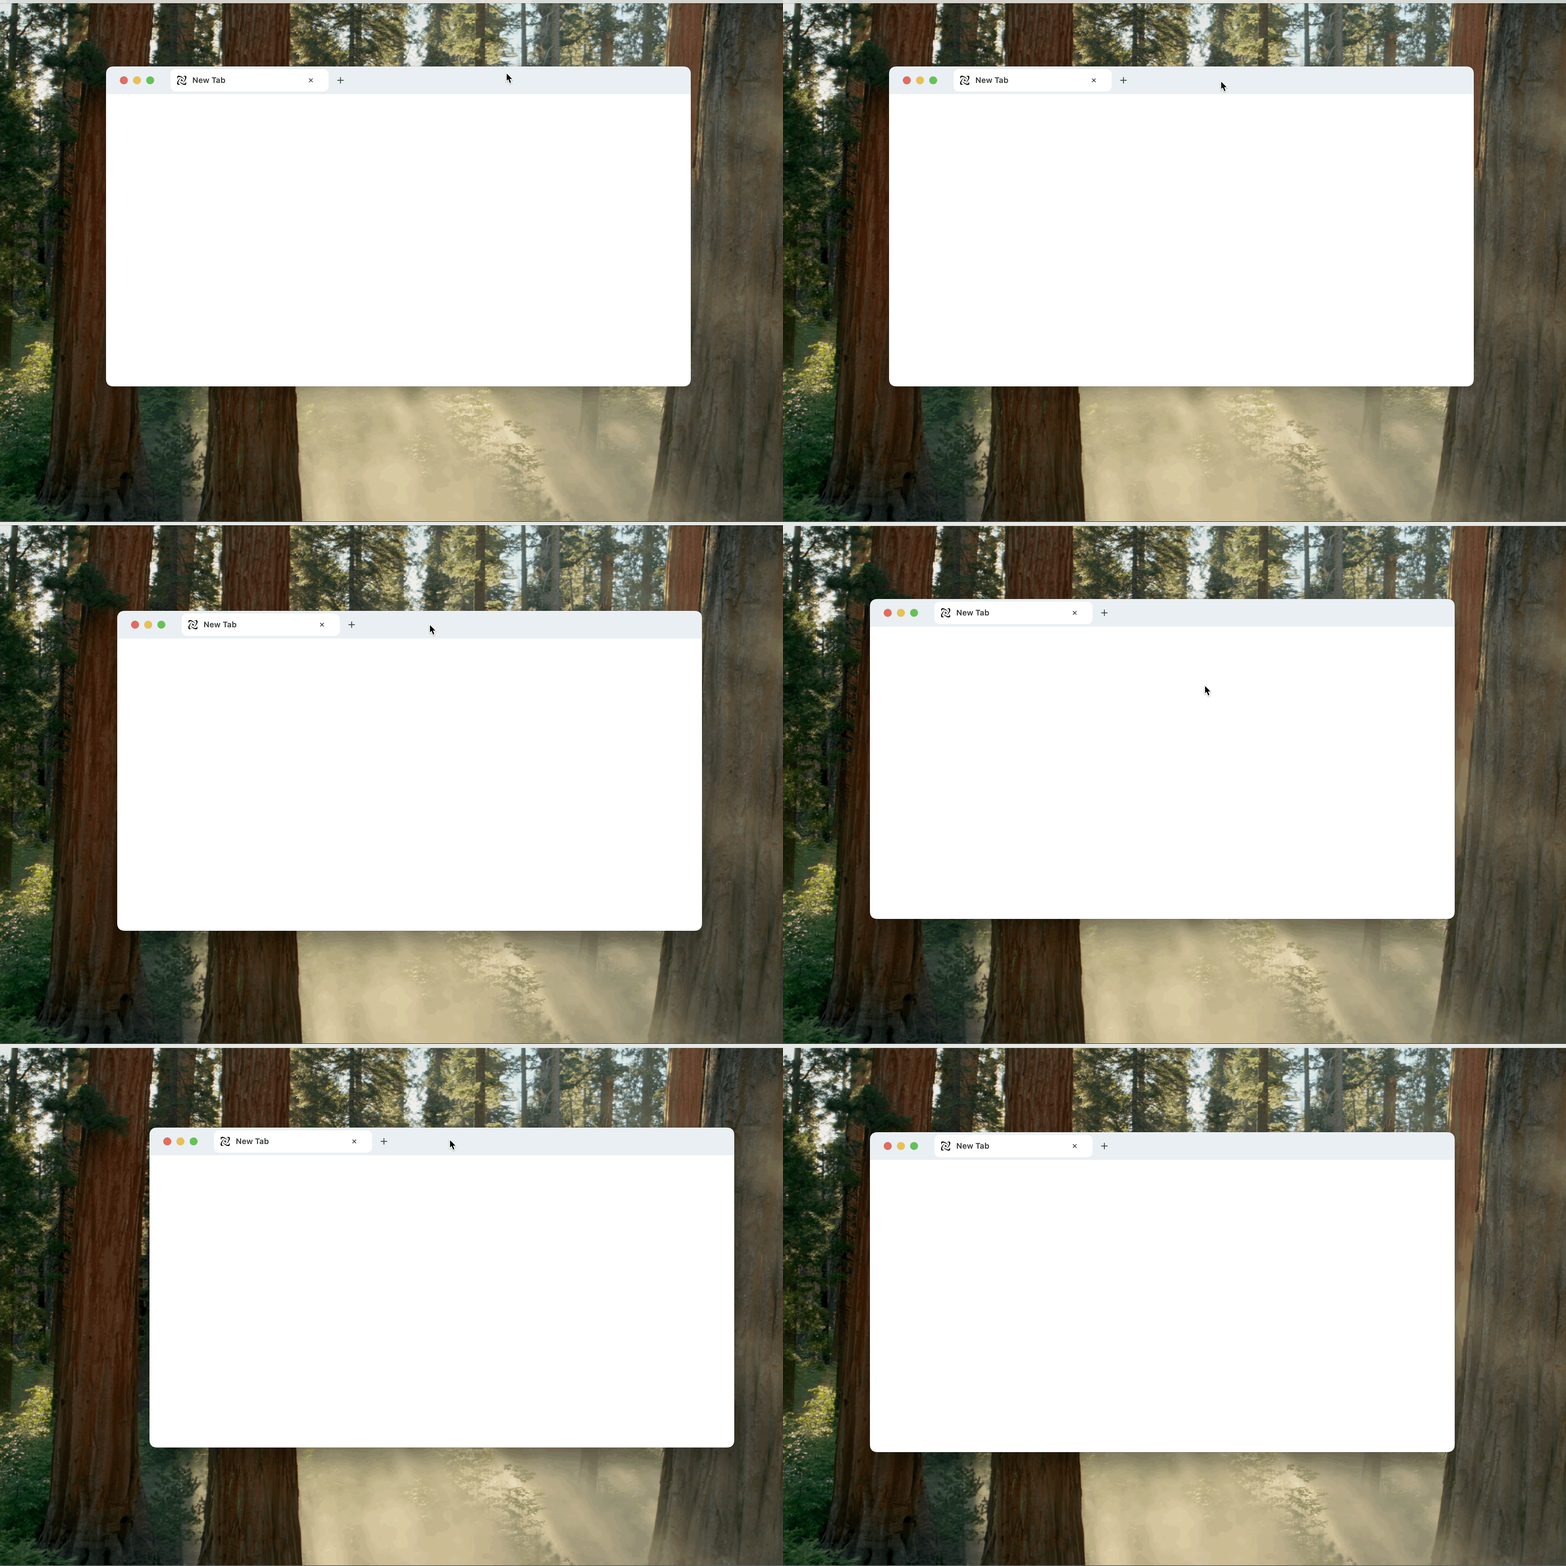
Because the system title bar is gone, users can no longer drag the window in the default way. We need to enable dragging on the custom top bar (.top-bar).
Lynxtron supports the CSS property -x-app-region: drag to define draggable regions, similar to Electron's -webkit-app-region: drag.
The effect looks like this:
Implement Window Controls Through Communication Between Node.js and LynxView
Because we removed the system-native title bar, we need to implement close, minimize, and maximize ourselves. This requires communication between Node.js and LynxView.
Lynx JS Thread
Node JS Thread
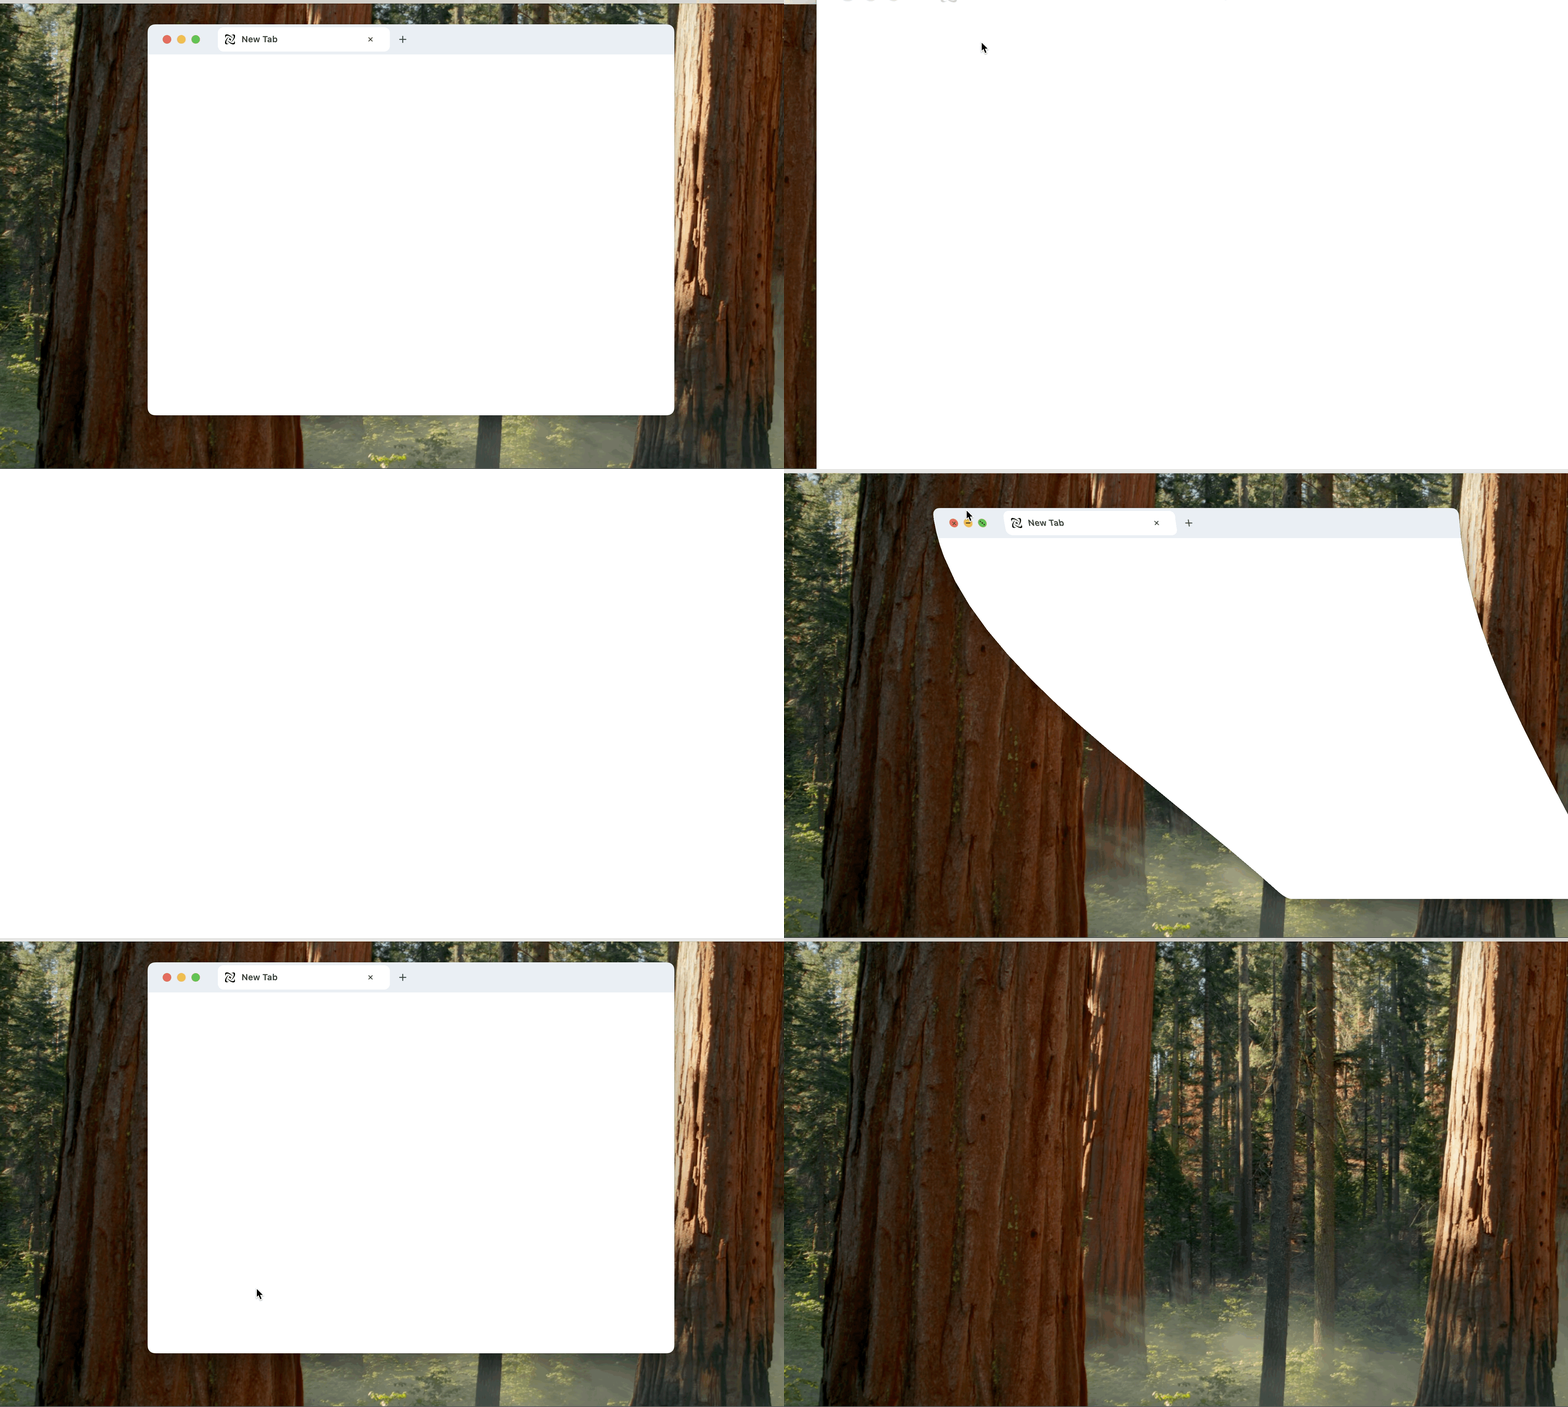
This allows the browser window to close, minimize, and maximize:
How to Use <webview> from Lynx Native Libraries
Manage Tabs
One of the core capabilities of a browser is multi-tab management. We need to maintain the state of a tab list.
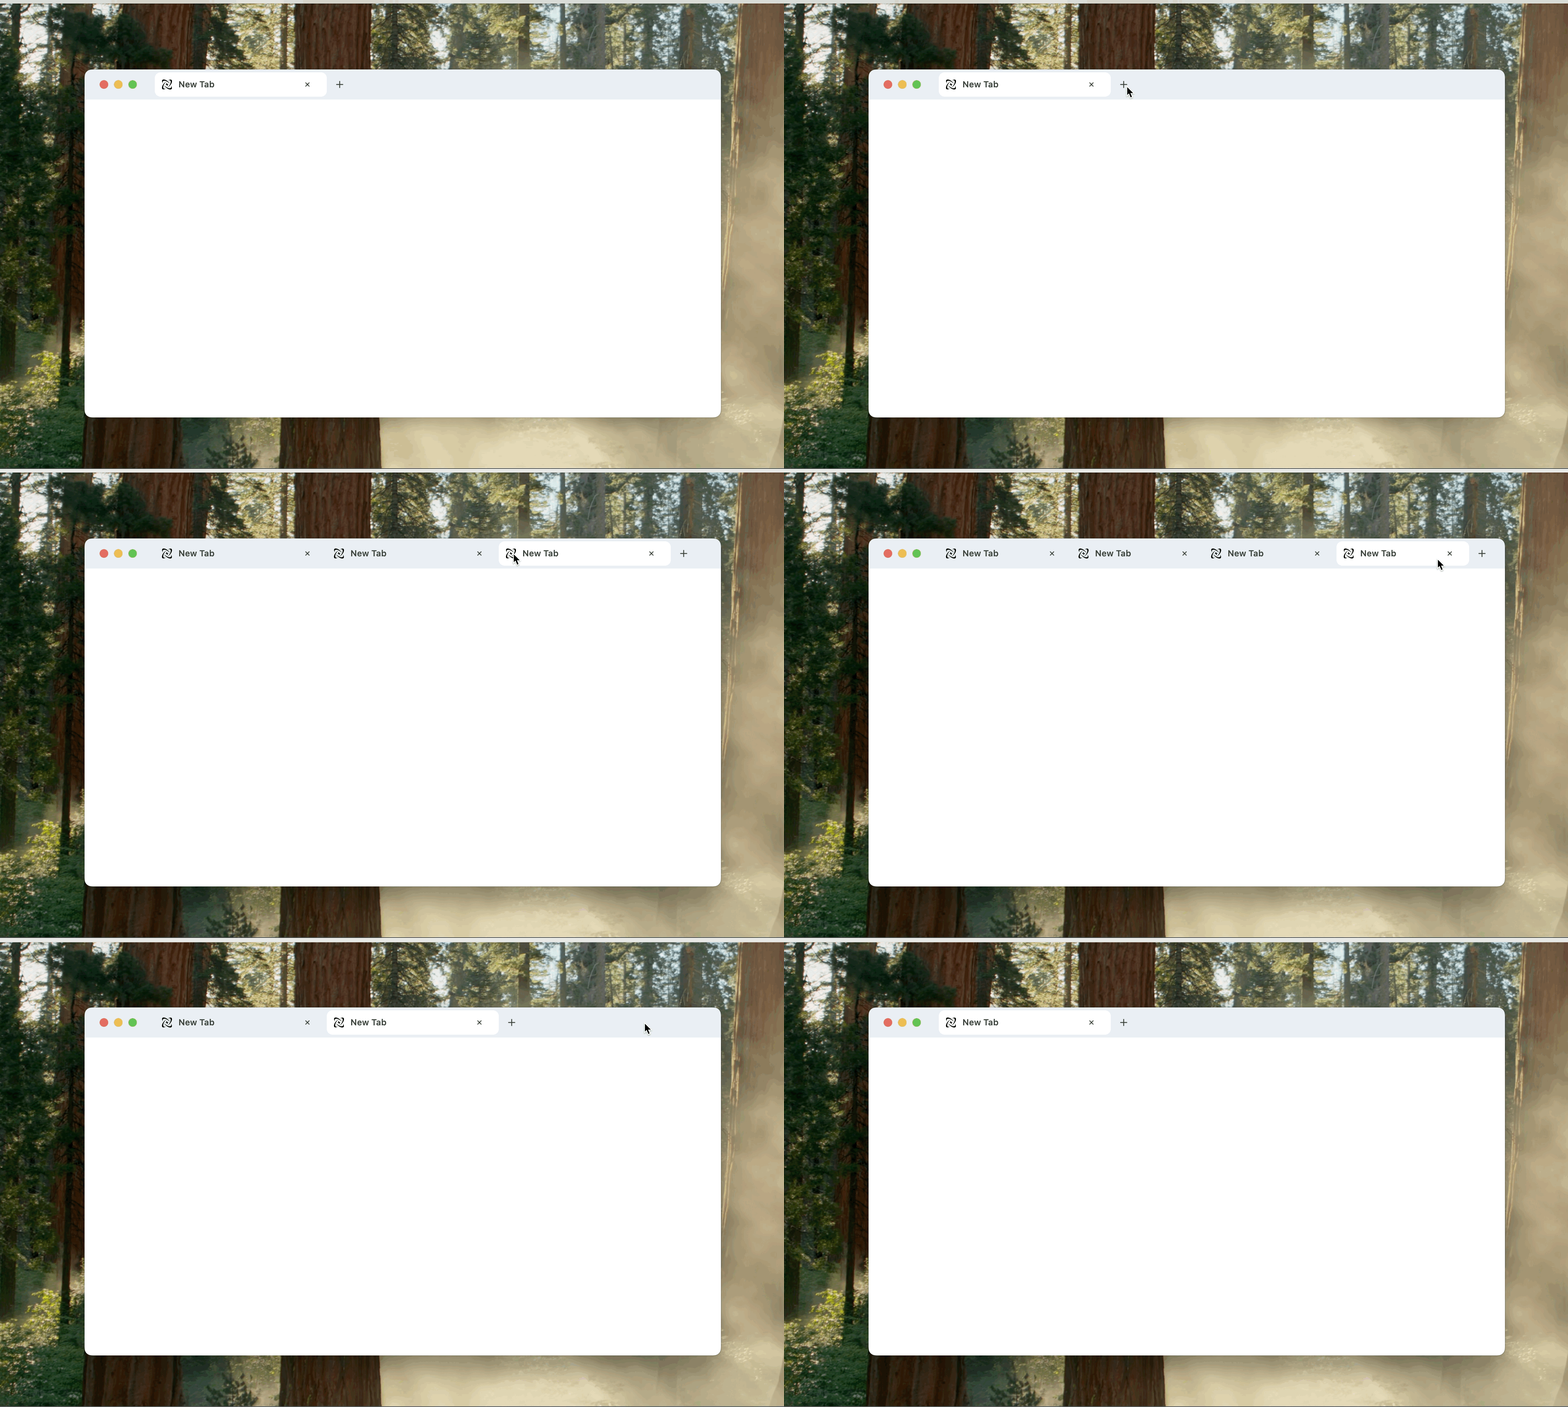
At this point, we have finished adding and closing tabs:
Add the <webview> Component
After installing the native library and initializing CEF as shown above, use <webview> directly in the Lynx UI to load external pages. The UI code does not import the CEF package.
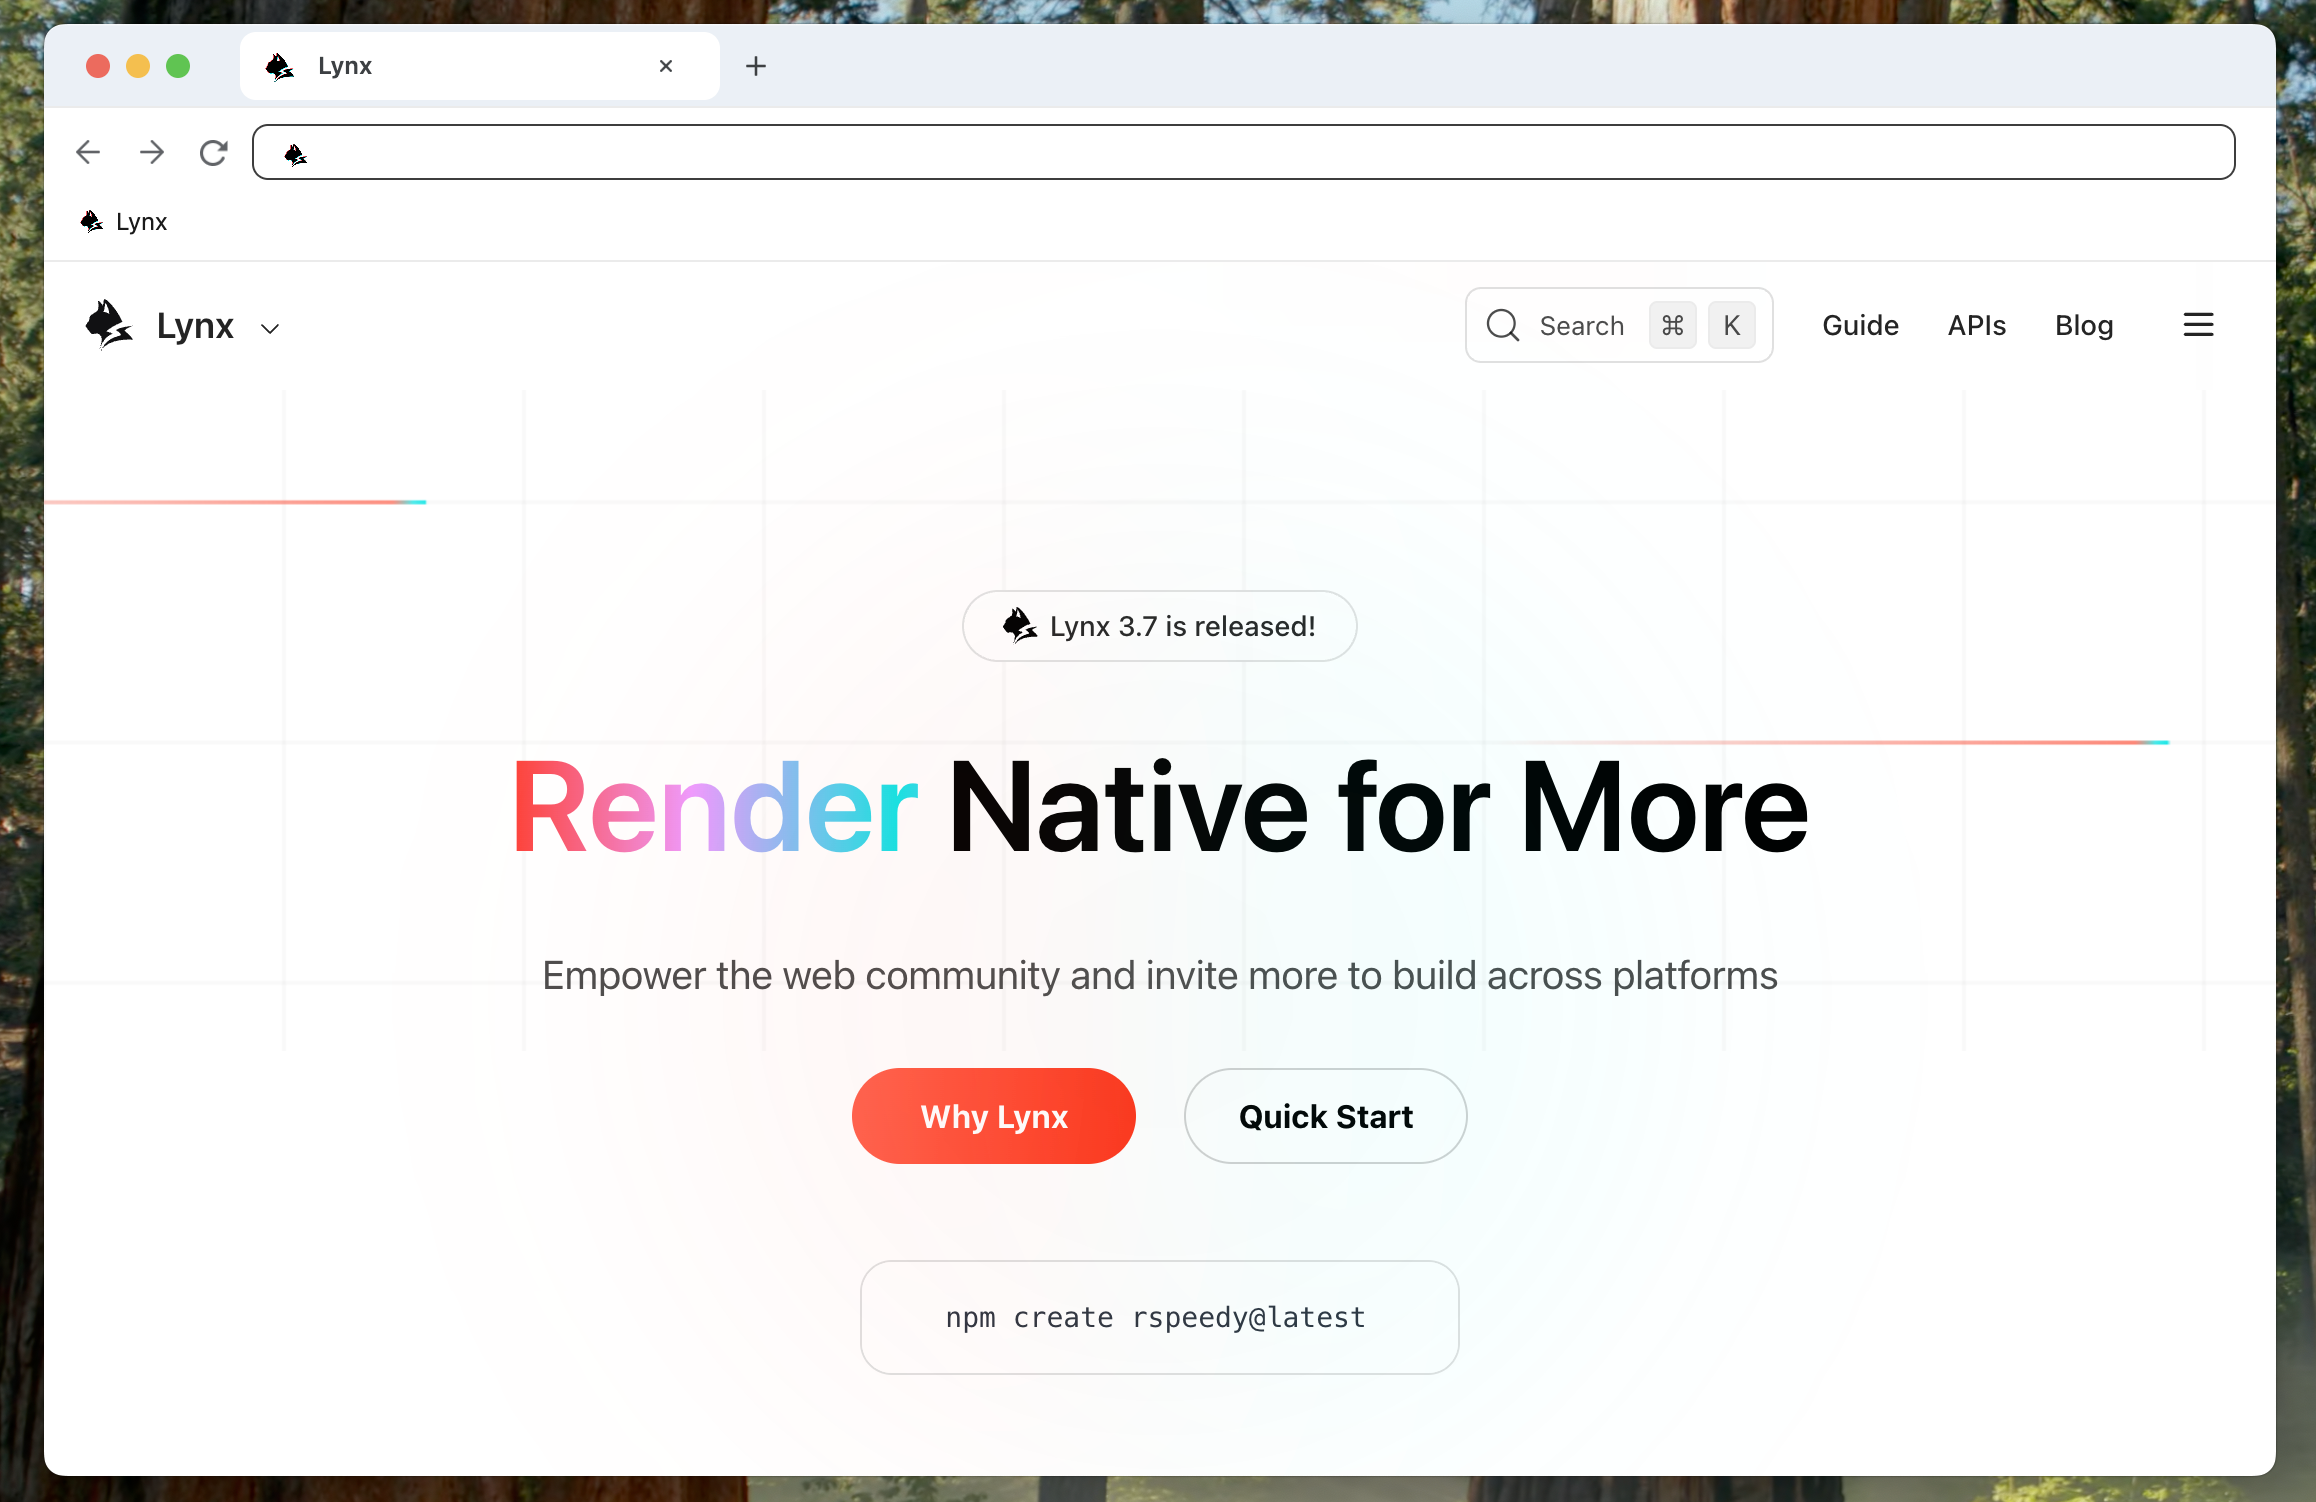
After adding this element, we can load external web pages normally:
Tab Switching Strategy
To preserve page state when switching tabs, meaning the page does not reload, we do not destroy and recreate Webviews during tab switches. Instead, we render all Webviews and use z-index to control which one stays on top.
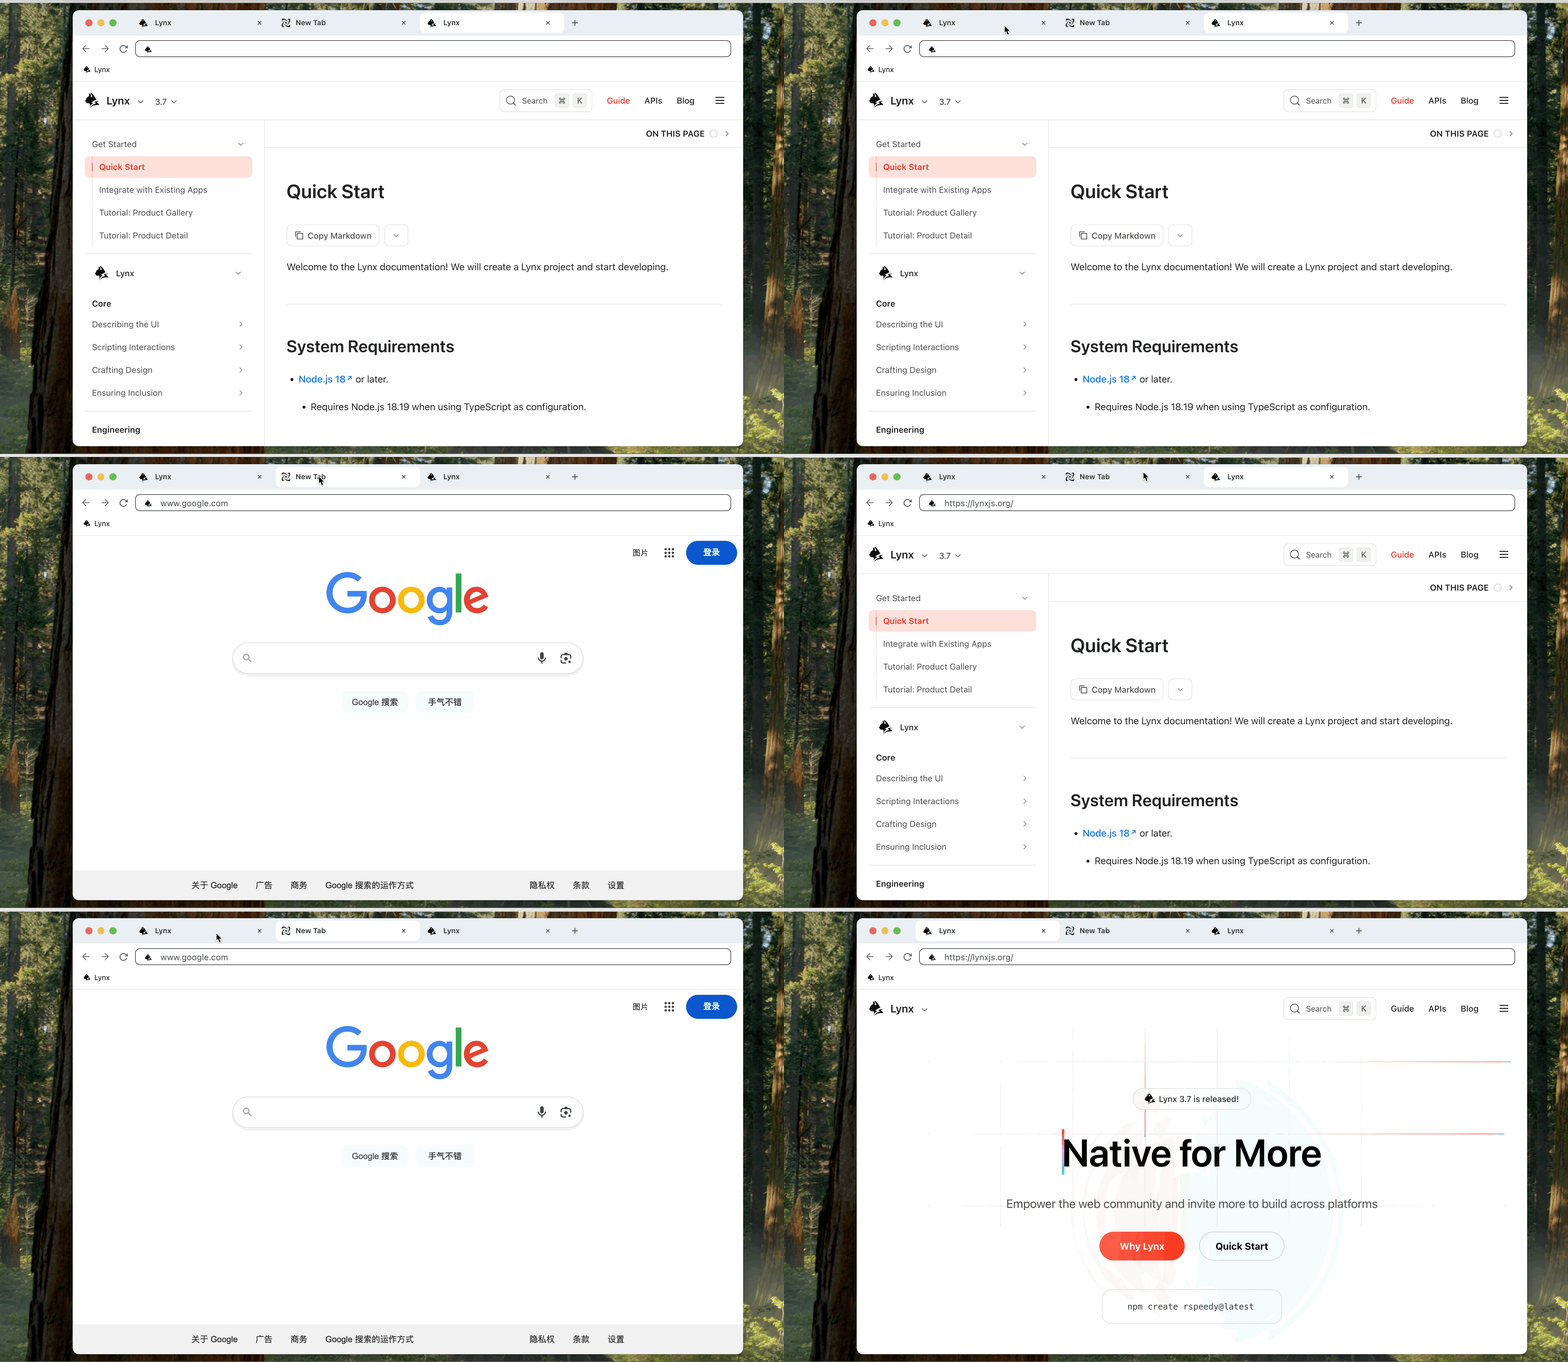
This stacking strategy ensures a smooth tab-switching experience while preserving page state. The effect looks like this:
Navigation and Control
We also need to control Webview behavior, such as going back and refreshing, through buttons in the Lynx UI. To do that, we need a reference to <webview> and call its methods.
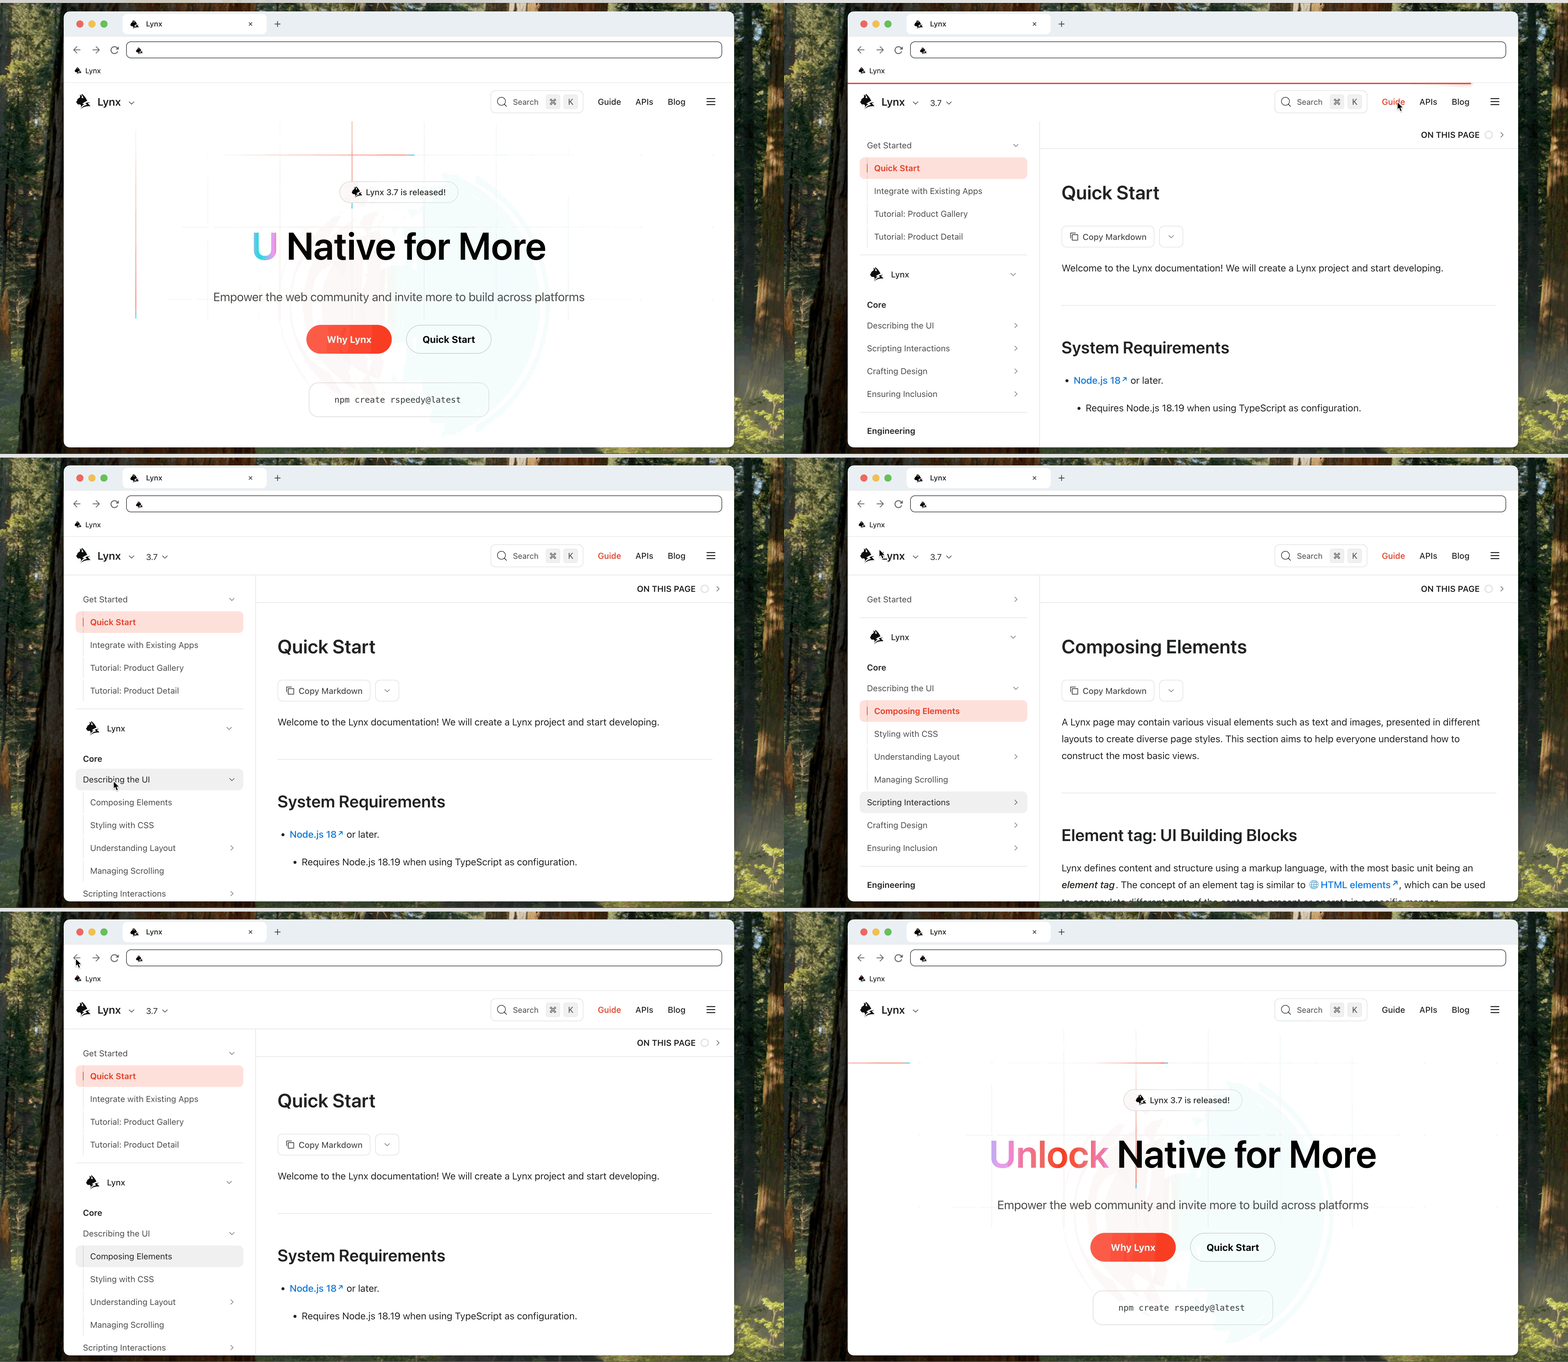
This gives the browser refresh and back navigation:
Summary
Through this tutorial, you have built a basic multi-tab browser and learned several key capabilities in Lynxtron desktop app development:
- Custom browser window: by creating a frameless window, building a custom top bar, and adding draggable regions to it, you established the browser's core visual and interaction structure.
- Communication between Lynx and Node.js: by passing messages between the Lynx side and the Node.js side through the JS Bridge, you implemented close, minimize, and fullscreen window controls.
- Integration and control of
<webview>: by using<webview>to load web pages and calling methods through references, you implemented page loading, refresh, and back navigation.