Lynx Explorer is a sandbox for trying out Lynx quickly.
We currently only provide pre-built binaries for the iOS simulator. If you need to run Lynx Explorer on a real iOS device, you'll need to build it from source. Please refer to the Build Lynx Explorer for iOS guide.
Info
A version of Lynx Explorer is also available on the App Store, published by community contributors.
While this version is not reviewed and maintained by the Lynx team, we're thankful to the community for making it more convenient for developers to try out Lynx on iOS.
Install Xcode
Open up the Mac App Store, search for Xcode, and click Install (or Update if you have it already).
A version of Lynx Explorer is also available on the Play Store, published by community contributors.
While this version is not reviewed and maintained by the Lynx team, we're thankful to the community for making it more convenient for developers to try out Lynx on Android.
We currently only provide pre-built binaries for the harmony simulator. If you need to run Lynx Explorer on a real harmony device, you'll need to build it from source. Please refer to the Build Lynx Explorer for Harmony guide.
Install the NPM dependencies with package manager:
npm
yarn
pnpm
bun
deno
npm install
yarn install
pnpm install
bun install
deno install
To start the development server, run:
npm
yarn
pnpm
bun
deno
npm run dev
yarn run dev
pnpm run dev
bun run dev
deno run npm:dev
You will see a QR code showing up in the terminal, scan with your Lynx Explorer App or if you are using the simulator, just copy the bundle URL and paste it on the "Enter Card URL" input in the Lynx Explorer App and hit "Go".
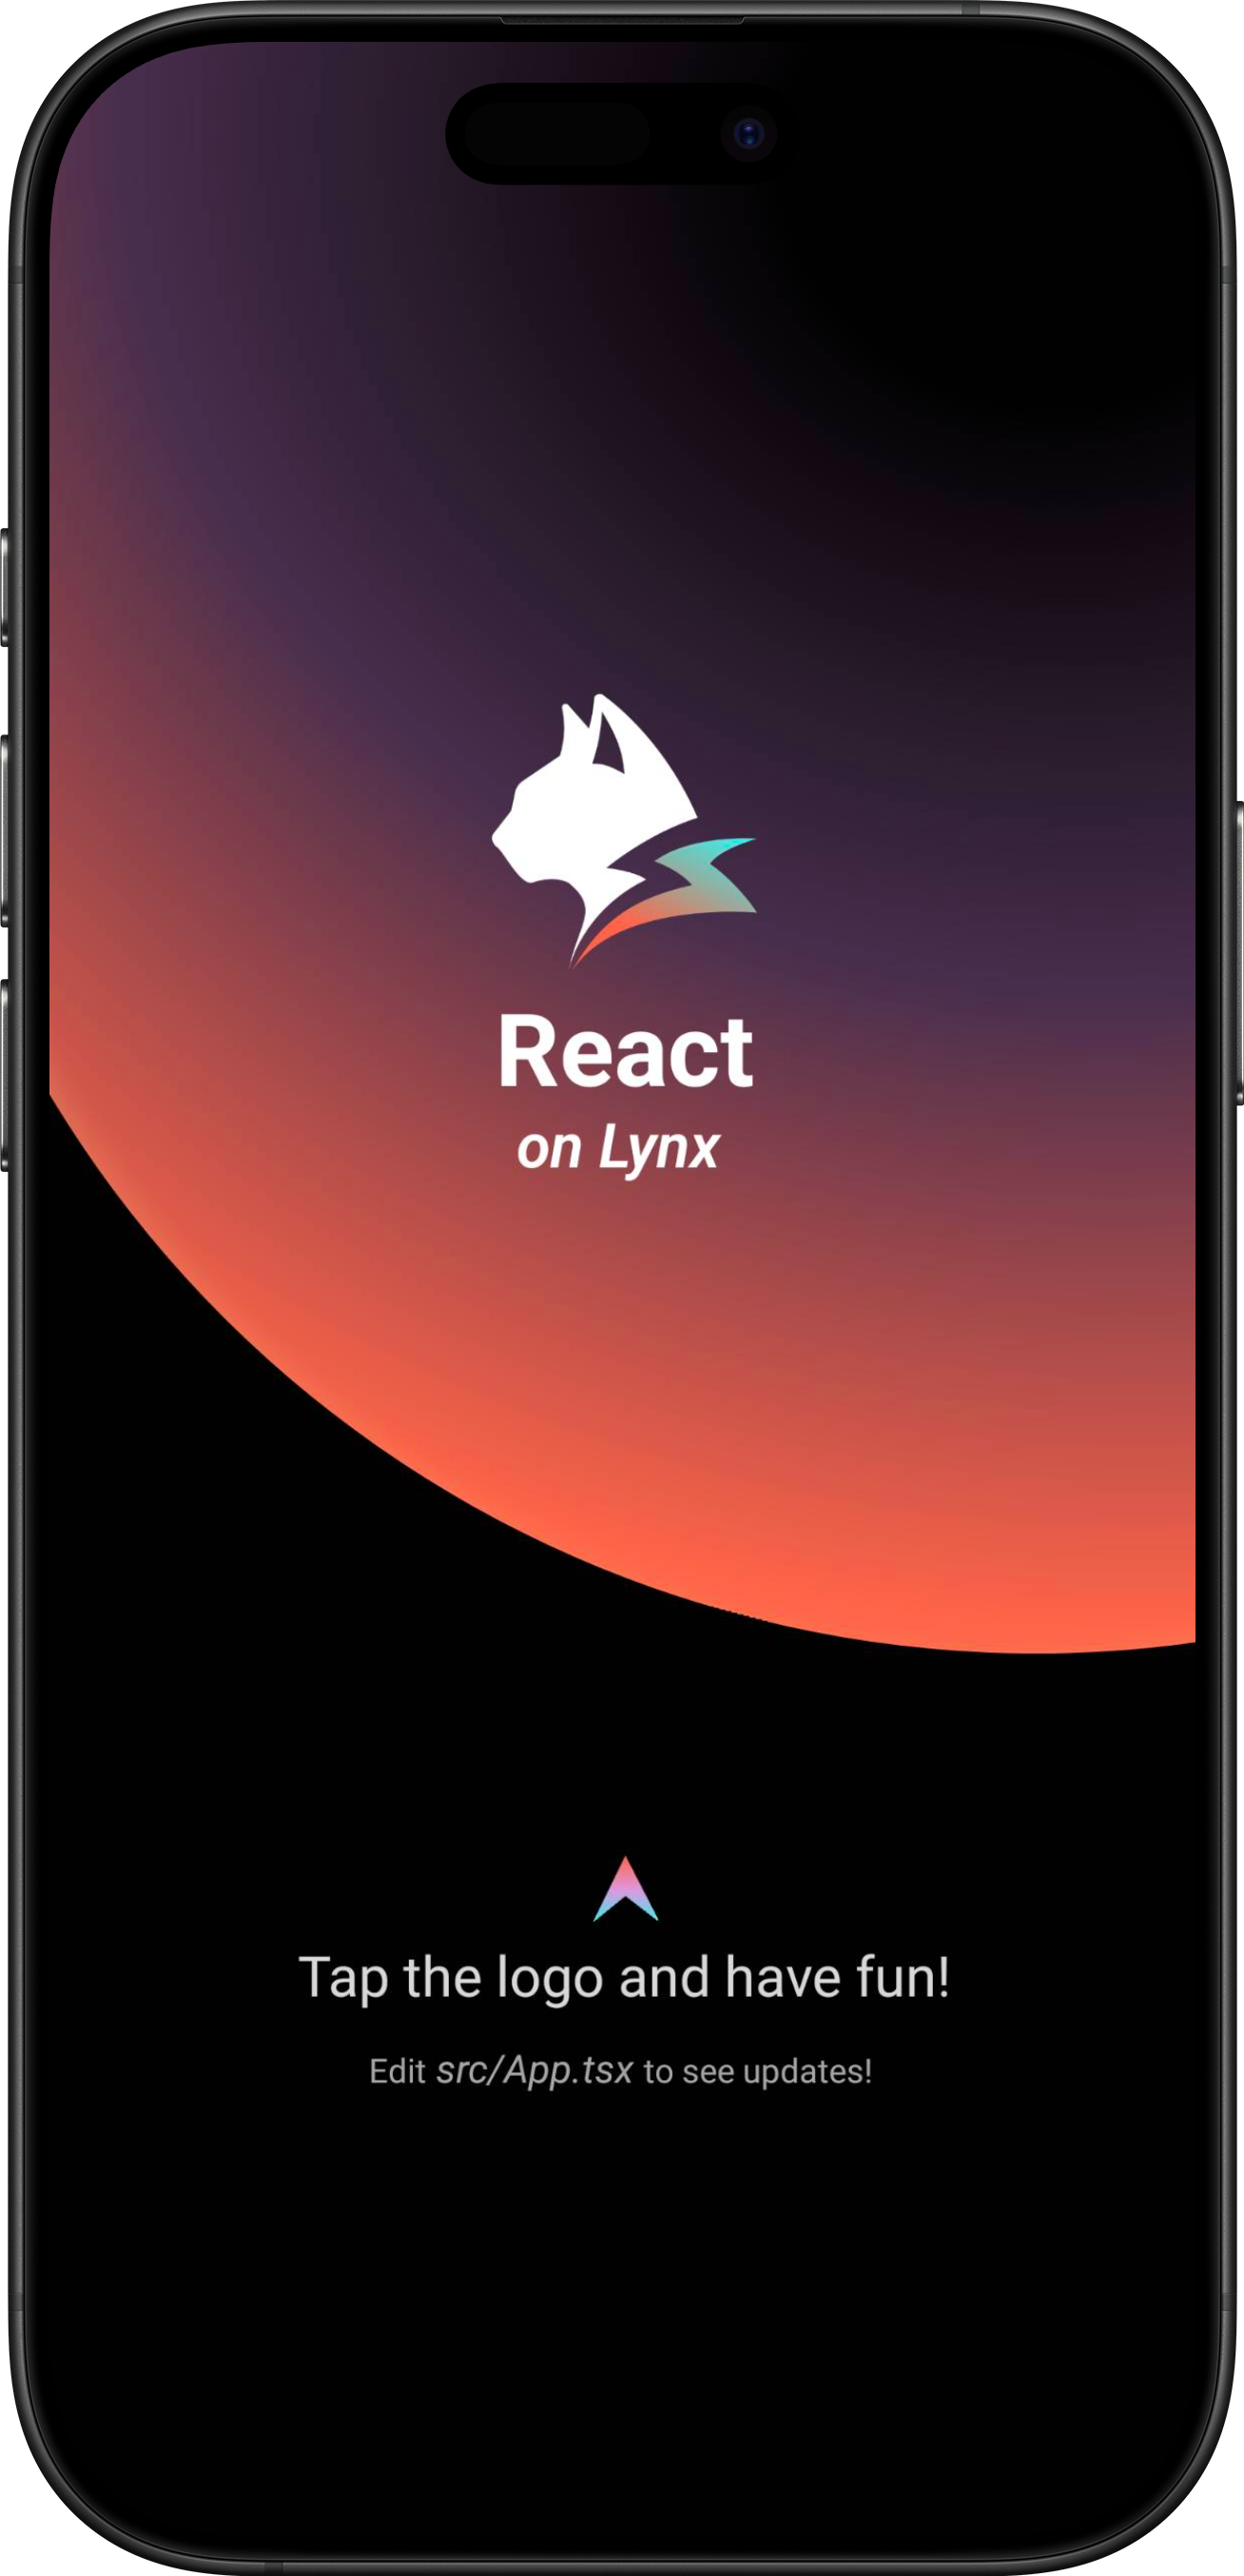
Make your first change
Open the src/App.tsx file in your code editor and make a change.
You should see the UI on your Lynx Explorer being updated automatically.
Except as otherwise noted, this work is licensed under a Creative Commons Attribution 4.0 International License, and code samples are licensed under the Apache License 2.0.